If you want to take better photos with the Canon Rebel T7, this guide is for you.
Photography should be fun, even though DSLR cameras may look a bit scary. It’s easy to get lost in the amount of tutorials and guides, so I wrote these 10 tips that you can instantly apply to improve your photos.
I assume you recently got the Canon Rebel T7 and have spent a little bit of time shooting with it, messing with different buttons and reading the manual.
1. Switch to Manual Focus in Low-Light

The Canon Rebel T7 is a beginner friendly DSLR, same goes for the kit 18-55mm lens (which I assume you have).
Neither of these two pieces of gear have incredible low light auto focus capabilities, so if you’re shooting a concert or an indoor birthday party, you might have to switch to manual focus and rotate the ring on the lens.
How to do that?
There’s an AF/MF switch on the lens itself, just set it to MF and rotate the front element.
- DSLR cameras have a hard time auto focusing in low light, or if there isn’t any contrast.
You can try this for yourself; point the camera at a white wall, and watch how it struggles to focus. There’s no contrast, nothing for it to compare the completely white surface against.
Manual focus is not easy, and it requires a lot of practice before you can be fully confident in it. Honestly, even after years of shooting I’m still often scared to do it. However, if my camera’s AF doesn’t work, there is no other way to capture that moment.
You can use the LCD screen instead of the viewfinder, which will make it easier to see if your manual focus is 100% precise.
2. Shoot From Eye Level
The easiest way to ruin a shot is to photograph your subject from an awkward angle.
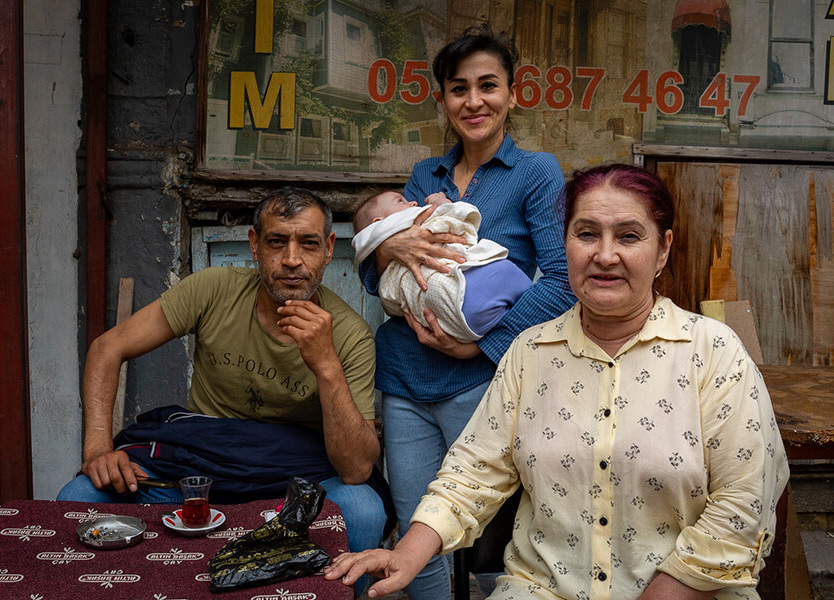
- Crouch down and get to your subject’s eye level.
This doesn’t only apply to people and animals, you can try it with any kind of object.
Instead of taking a picture of your food from your usual perspective, what if you lowered the camera as if it were sitting on the plate? Instead of taking a picture of your car, crouch down and get on the same level as its main lights.
Experimenting with unique perspectives can create amazing images.
It gives us angles we are not used to, and you can turn any “boring” shot into an exciting one. Crouch or even get on the ground if you have to; the more unusual it, the better.
3. Half-Press the Shutter Button to Focus
If the Canon Rebel T7 is your first DSLR, and you haven’t read the manual, you might not even know this part.
You can half-press the shutter button to let the camera focus automatically, and then take the picture. It’s like tapping the LCD screen of your phone to let it know where to focus, and when you see it made the proper correction, you tap on the shutter icon.
There are 3 auto focus modes on your Canon T7:
- One-Shot AF: Canon T7 will only allow you to take a picture if it’s 100% sure it got your subject in focus.
- AI-Servo: Canon T7 will try to get your subject 100% in focus, but it will allow you to take a picture even if it couldn’t completely achieve that.
- AI-Focus: Canon T7 will automatically switch between the 2 modes above.
Generally speaking, it’s best to use One-Shot AF for subjects that are still. Think landscape, products, portraits and so on.
AI-Servo when capturing the moment is more important than having 100% focus; wildlife, kids running around, lots of unpredictable movement.
You can use AI-Focus and get the best of both worlds, as you camera will automatically detect when your subject starts moving. I recommend you to use this mode most of the time, and stick with One-Shot for static, predictable situations.
4. Enable Grid Lines & Rule of Thirds
Besides light, framing is one of the most important elements in photography.
- A cool framing trick is to remember the Rule of Thirds.
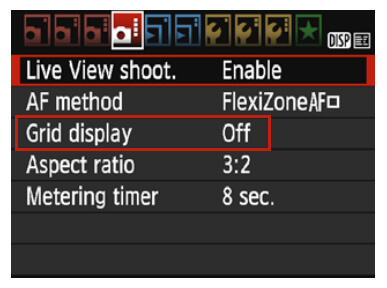
You can actually enable the Grid Lines option on your Canon Rebel T7, or just look at a couple of reference images until it’s stuck in your head.
Try to position your subject either on the line, or at the intersection of two lines. Our eyes usually gravitate towards those parts of the image, so if your subject is already there it will make it appear more artistic. It also helps if you leave some room in the direction that your subject is looking at.
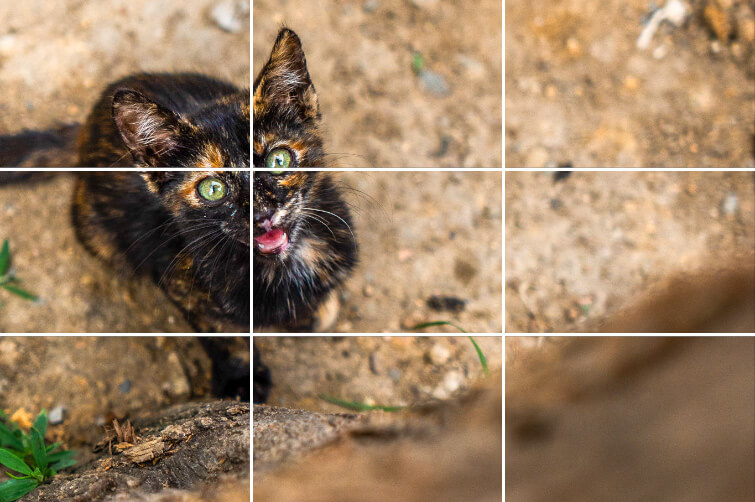
Many images are ruined by positioning the subject dead center. I only suggest you do this if the left and right parts are nearly symmetrical, otherwise it can look odd and boring.
5. Only 1 out of 1000 Images is Good
Professional photographers don’t take bad pictures, right?
- Nobody wants to share their ugly images.
You don’t see the hundreds, or thousands of bad and horrible images sitting on your favorite photographer’s hard drive. You only see the ones they decide are worth uploading. The problem is, you see all of your images; the good ones and the bad ones.
This creates an illusion that most of your stuff is bad, and guess what, it probably is.
It should be! Especially in the beginning. Same goes for every form of art, it takes patience and dedication.
For every 1000 images I take, I’m happy if I don’t instantly delete at least half of them. Some are ugly, unusable, out of focus, boring. I try my best, but the more often I try, the higher my chances of getting a great image.
DSLR cameras have unlimited storage so there’s no excuse to not practice. Talking about storage, you can check out my Canon Rebel T7 SD Card Recommendation here.
6. Shoot 1 or 2 Hours Before Sunset
Many beginners think that photographing during the middle of the day is the best way to go. The sun is up, there’s lots of light, so what’s the problem?
- Super sunny days result in ugly shadows on your subject.
The contrast between dark shadows and super bright elements is a quick way to make a shot look amateur-ish.
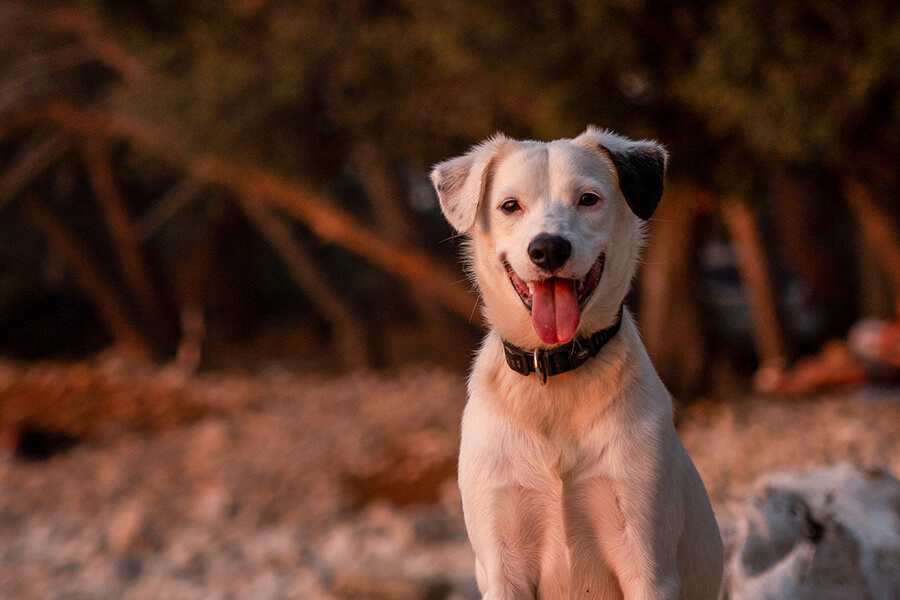
This is why many people prefer to shoot a little bit before sunset, or right after sunrise. Your images will get warm tones, long shadows and much more pleasing contrast.
For outdoor portrait photography, you should be shooting an hour or two before the sun sets, and watch how your light gets warmer and warmer. Try to shoot your subject from all directions; sun behind them, sun shining directly onto their face, and sun from the side.
7. Flash is Trash
When you shoot in Automatic mode, your Canon T7’s built-in flash might join the party way too often.
- Strong, direct light in front of your subject can result in washed out images.
While it’s definitely possible to be creative with the built-in flash, a lot of times it just ends up making the shot look bad. A flash positioned directly in front of your subject is rarely a good idea.
Instead, try finding ways to have a light source on your subject’s side, or directly on top of them (like the sun). You can buy a cheap external flash and start experimenting with light. Trust me, this is the fastest way to become a more professional photographer.
Ironically, the best time to use the built-in flash is in broad daylight. You can use it as a filler light to reduce the amount of shadows on your subject.
8. Shoot With a Big Aperture
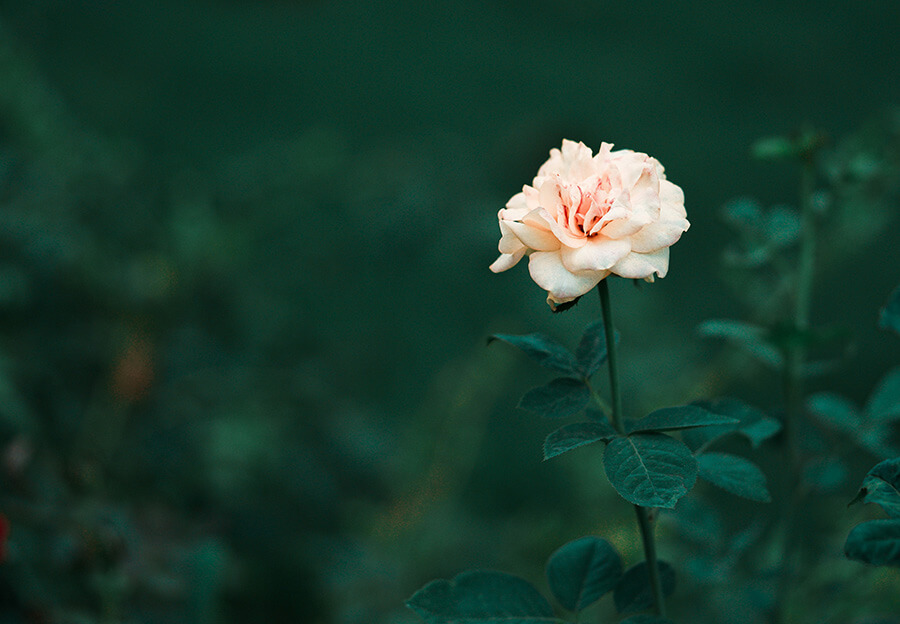
Blurring your background is perhaps the quickest way to give your shots that “wow” factor.
You can achieve this effect by opening your aperture as much as possible. Switch to Av on the top mode dial, and choose the lowest f/** number your lens offers. If you’re shooting with the Canon EF-S 18-55mm f/3.5-5.6, this means you should set it to f/3.5, or f/5.6 if you’re completely zoomed in.
- The bigger the aperture, the more blurred the background.
What’s a big aperture?
Anything between f/1.2 and f/4 (which is basically f/1.4, f/1.8, f/2.0, f/2.8). Unfortunately the kit 18-55mm can’t go any bigger than f/3.5, so blurring the background is not the easiest task.
This is why many people buy new lenses, especially primes (no zoom), as they offer incredibly big apertures; f/1.8 or even f/1.4.
As you can see in my 6 Best Lenses for Canon Rebel T7 guide, the ideal~$100 lens for this would be the Canon EF 50mm f/1.8.
Related: What is Aperture? The Ultimate Photography Guide (+Tips)
It’s very hard to get these kind of images with the standard kit lens. You can create a blurrier background by zooming all the way to 55mm instead of 18mm, since longer focal lengths are better for this (yes, even though your aperture will change from f/3.5 to f/5.6 by doing so).
Use this tip for portrait, flower and pet photography and it will make your subject pop out.
9. Invest in Gear & Accessories
First of all, the Canon T7 + 18-55mm kit lens is more than enough to get fantastic shots.
You absolutely don’t need to buy any new gear, new lenses, or whatever. These things can help, but the biggest difference in getting better images will be learning about composition, manual settings and what makes a moment special.
As a beginner, you don’t really need more expensive gear yet because you don’t know how to take advantage of everything it offers.
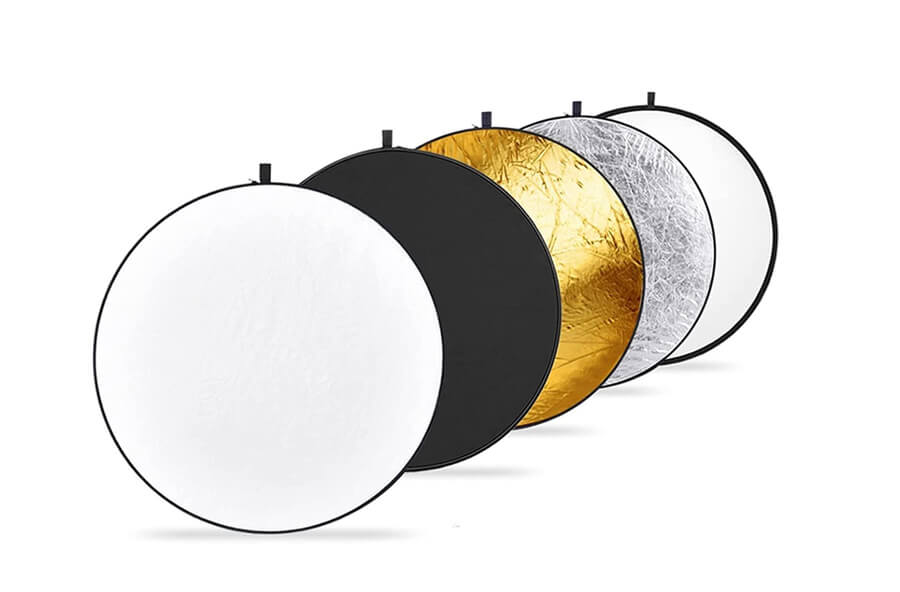
However, here are my most recommended cheap accessories if you want to spice up some shots:
- 5-in-1- Light Reflector (~$20)
- External Flash (~$50)
- Tripod (~$30)
- Cleaning Kit (~$15)
I wrote a full guide for the 5 Must-Have Accessories for Canon Rebel T7 and they are all under $100. You’ll find more detailed descriptions of everything I recommend, including the items above.
10. Don’t Shoot in Auto Mode (or P)
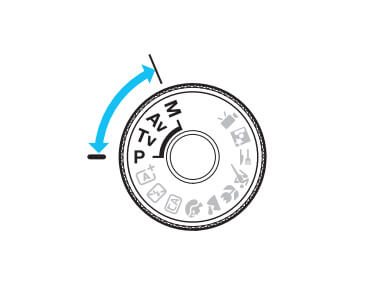
If you want to get more creative shots, you will slowly have to stop using Auto mode (or P).
- Manual modes allow you to control the light and be creative.
I know Manual mode (M) can be scary, but you can also try shooting in either of these:
- Aperture Mode (Av)
- Shutter Speed Mode (Tv)
You only have to control one setting here, instead of all 3 in completely Manual mode. This makes it less challenging and easier to start understanding how all of these functions affect your images.
For portrait photography, switch to Av mode and select the biggest aperture. Your camera will take care of the shutter speed and ISO.
For sports and action, switch to Tv mode and select the fastest shutter speed. Your camera will handle aperture and ISO.
It’s like shooting in a half-automatic mode, except that you have control over the main vision of your image.
Canon Rebel T7: My Other Guides
Shutter Speed: Allows you to freeze motion, or show movement (fireworks, waterfalls). The faster it is, the less light reaches your sensor. You can see my full Shutter Speed guide here.
Aperture: An opening of your camera lens, responsible for blurring the background and letting light pass to your sensor. You can see my full Aperture guide here.
ISO: This setting changes how sensitive to light your sensor is. You can raise its value in low light situations and get brighter images. You can see my full ISO guide here.
- Canon offers over 100+ lenses, so check out my list of Best Lenses for Canon T7.
- If you want to photograph pets, check out my 16 Top Tips for Pet Photography.
- Here’s a list of my Recommended SD Cards for Canon T7.


