
Your camera doesn’t know what you want.
In fully automatic modes, it only makes sure your photos look bright enough. It doesn’t care about the artistic side.
Aperture Priority mode is one of the 4 most important camera modes, so let’s see when and how you should use it.
1. What is Aperture Priority Mode?
In Aperture Priority mode, you’re only controlling the aperture. Every other important setting is handled by your camera; shutter speed, ISO, etc.
It’s a semi-manual mode, because you’re letting your camera do half of the work.
What is aperture and what does it do?
Aperture is an opening inside your camera lens. By making it bigger, you’re letting more light reach your sensor, which is great for low-light scenarios.
On the other hand, the smaller it is, the less light will pass through. It’s most commonly used when you have plenty of light.

However, aperture also does one more important thing!
It controls how much of your image is in focus.
- It can blur your background (big aperture)
- It can make everything appear sharp (small aperture)
That’s it! In aperture priority mode, you are the one deciding how your image should look like when it comes to depth of field (the actual term used to describe the area of a photo that appears in focus).
Because changing the aperture size also changes your exposure, this camera mode is ideal if you don’t have enough time or knowledge to properly adjust shutter speed and ISO. Otherwise, your images can easily end up too bright or dark.
2. When to Use Aperture Priority Mode?
Some photographers constantly shoot in aperture mode.
It gives you a bit less creative control over your images compared to manual mode. On the other hand, it’s more convenient and leaves less room for mistakes.
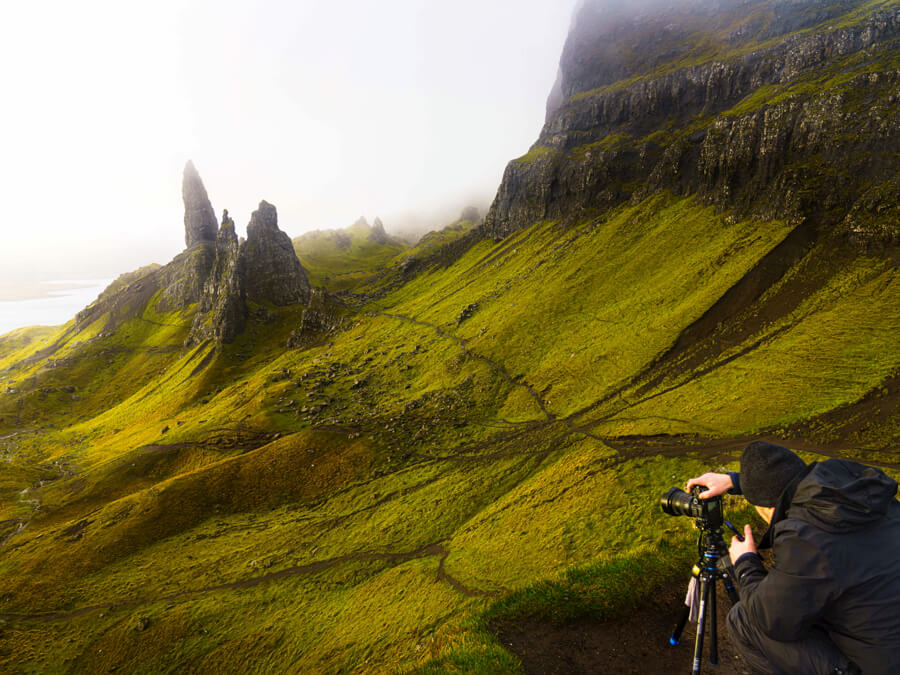
Landscape Photography
What do most landscape images have in common?
Everything appears sharp. Mountains in the back, water in front, trees in the middle, it doesn’t matter. They all look razor sharp and nothing is blurred.
To achieve this, you should use a small aperture (between f/5.6 and f/16). Don’t go too small otherwise you’ll run into a problem called diffraction.
Portrait & Wedding Photography
Most portrait photos have a blurred background which makes the subject stand out even more.
To achieve this, use a big aperture which is anything between f/1.2 and f/4. The problem is, most cheaper lenses can’t go bigger than f/4, so you will most likely have to invest in new glass.
There are a couple of affordable options for every brand, but mostly prime lenses (no zoom).
Shooting with a longer focal length will also help blur the background due to compression. For example, most portraits are shot between 70 and 150mm, which is an ideal length for making your subject’s face appear flat and natural. Try shooting someone with an ultra-wide lens and see how distorted their face will be.
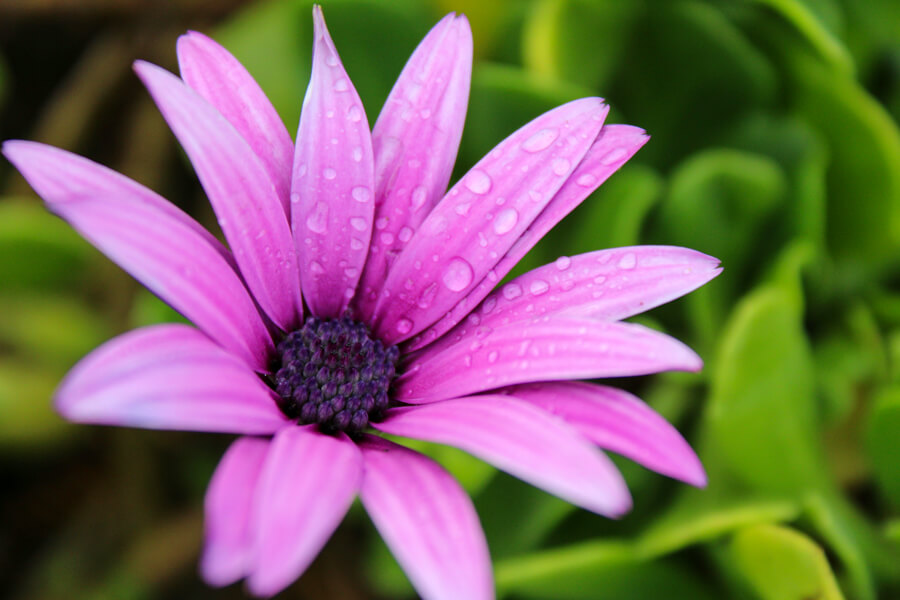
Macro Photography
Just like with portraits, a beautiful macro shot often has a blurred background. Whether it’s flowers or bugs, shooting in aperture priority mode will allow you to control what’s in focus.
3. Is Shutter Speed Priority Better?
Yes and no.
Sometimes it’s better to have control over your shutter speed. If there’s not enough light, your camera might actually choose a shutter speed that’s too slow, which will result in shaky images.
“Your shutter speed number should be higher than your focal length number.”
This is a really helpful tip to remember for getting sharper images.
For example, if you’ve got a Sony 18-105mm lens and are currently at 50mm focal length, make sure to shoot with at least 1/50.
Whenever you take a picture, you move just a little bit. When your shutter speed is fast enough, that’s not a problem. However, when you shoot with a slow shutter speed, any movement will be much more visible. The slower you go, the worse.
In low-light situations (night time, indoors, events) it’s often wiser to shoot in Shutter Speed mode. Depth of field is not as important as capturing a sharp, blur-free moment.
4. How to Shoot in Aperture Priority Mode
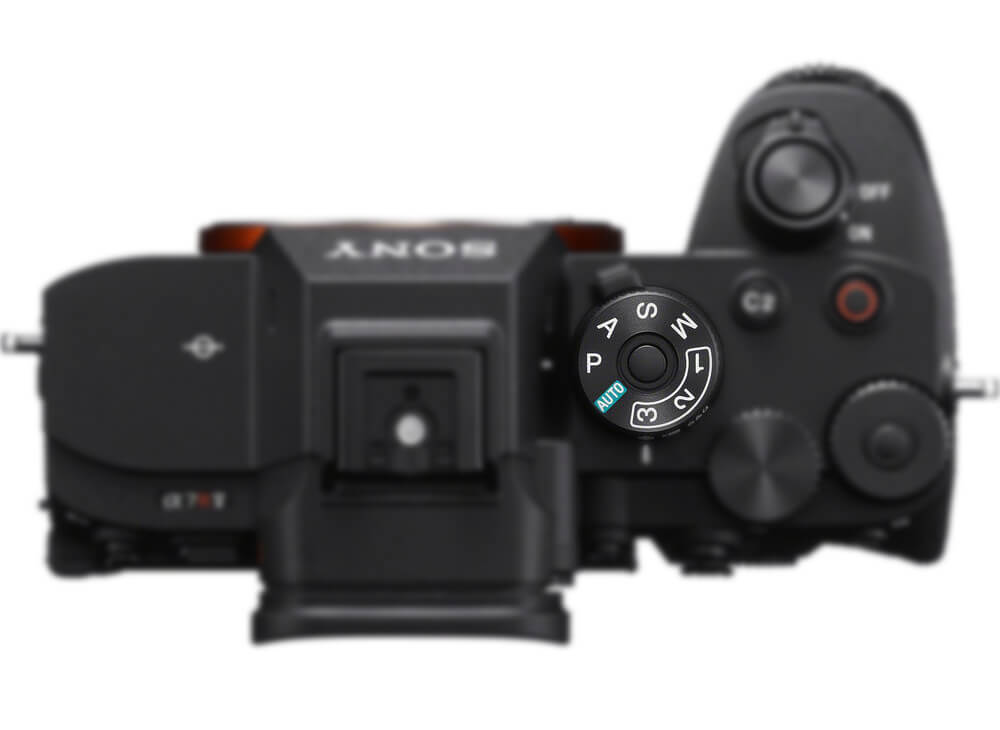
- Rotate the camera mode dial to A or Av
- Find which dial/wheel controls the aperture (instructions/manual)
- Rotate the dial to both extremes (widest and smallest) to see all possible aperture sizes
- Find out which button is set to Exposure Compensation
Most cameras have a front, top and rear dial. Their function can be changed, so you can actually customize the buttons as you like. Personally, I always have my aperture dial right next to the shutter button.
5. Don’t Forget About Exposure Compensation & Metering

When shooting in Aperture Priority mode, your camera can choose the wrong settings. Your images may appear too bright/dark, even though all other settings were chosen automatically.
That’s where exposure compensation button/dial comes in.
It’s basically telling the camera “I like the settings you gave me, but make the image a bit darker”. You’ll have to use exposure compensation often, so set it to a button that you won’t forget. Read the manual on where you can find yours.
When shooting in Aperture/Shutter Priority, the metering mode of your camera is also very important. It’s always calculating the best settings based on available light, but you can tell it to ignore certain parts of an image.
There are a couple of different modes; some look at your entire frame, while some only look at the light in the center. You can see more information in my metering guide here.
You don’t have to fully understand it, but it will help a lot when shooting in difficult light conditions (usually portraits or sunsets).
5. Don’t Forget About ISO
When it comes to ISO, you don’t want your camera to go too wild.
Because it does everything automatically, it might sometimes select an ISO speed that will result in too much noise.
Find the Auto ISO option and set the lowest and highest values. For most cameras, this is between ISO 100 and ISO 3,200. If you’ve got a full-frame camera released in the last ~5 years, feel free to set it up to ISO 6,400.
This way you ensure that your camera does its best to get a proper exposure, but without sacrificing too much image quality. The higher your ISO, the more noise appears on your images.
Many cameras will also let you choose the minimum shutter speed in the same tab.
8 Comments
And, what here ridiculous?
——
buy austria virtual phone number online https://virtual-local-numbers.com/countries/66-austria.html for calls, sms, registration (otp)
Alright, petir108slot. Decent selection of slots, nothing mind-blowing, but good for killing some time. Could be worse, could be better. Try your luck: petir108slot
1xbetano… Is this related to 1xbet? I do like this portal. Check it out here: 1xbetano
Do you have a spam issue on this website; I also am a blogger, and I was wanting to know your situation; we have developed some nice practices and we are looking to swap techniques with others, why not shoot me an email if interested.
Its superb as your other posts : D, thanks for posting. “A gift in season is a double favor to the needy.” by Publilius Syrus.
With havin so much content do you ever run into any issues of plagorism or copyright violation? My site has a lot of completely unique content I’ve either written myself or outsourced but it looks like a lot of it is popping it up all over the web without my agreement. Do you know any solutions to help reduce content from being stolen? I’d truly appreciate it.
833603 689590hi, your internet site is truly great. I truly do appreciate your give great results 644150
Thanks for any other fantastic article. Where else may anyone get that type of info in such a perfect approach of writing? I’ve a presentation subsequent week, and I am at the look for such information.