
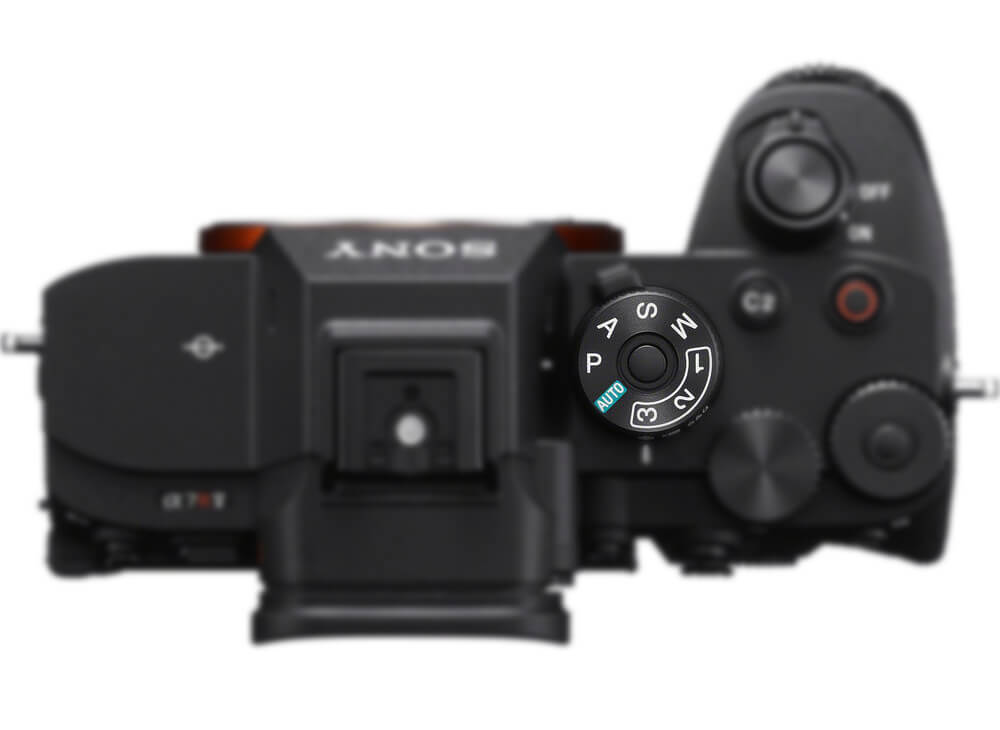
Most mirrorless cameras and DSLRs have these 5 modes:
- Program (P)
- Aperture Priority (A)
- Shutter Priority (S)
- Manual (M)
What’s the difference?
Some allow you to have complete control over your settings, while others will let you focus on 1 setting only.
If you’re a complete beginner, let’s see which ones would be best for you to start with. As you get better and better, you can slowly move into semi-manual or even fully manual camera modes.
1. Program Mode
Program Mode will automatically select the aperture and shutter speed for any given situation.
You can control everything else; this includes ISO, white balance, exposure compensation and more. Your camera’s main goal is to give you a proper exposure.
Program mode is perfect for beginners that want to rely on their camera, but make minor adjustments at times. Even adjusting the ISO value will give you enough experience to figure out how exposure works.
Automatic/Program modes may struggle in bright situations (sunsets, snow) so it’s nice to be able to have some control when that happens.
When shooting in JPEG, you are also able to choose your picture profile and white balance.
2. Aperture Priority
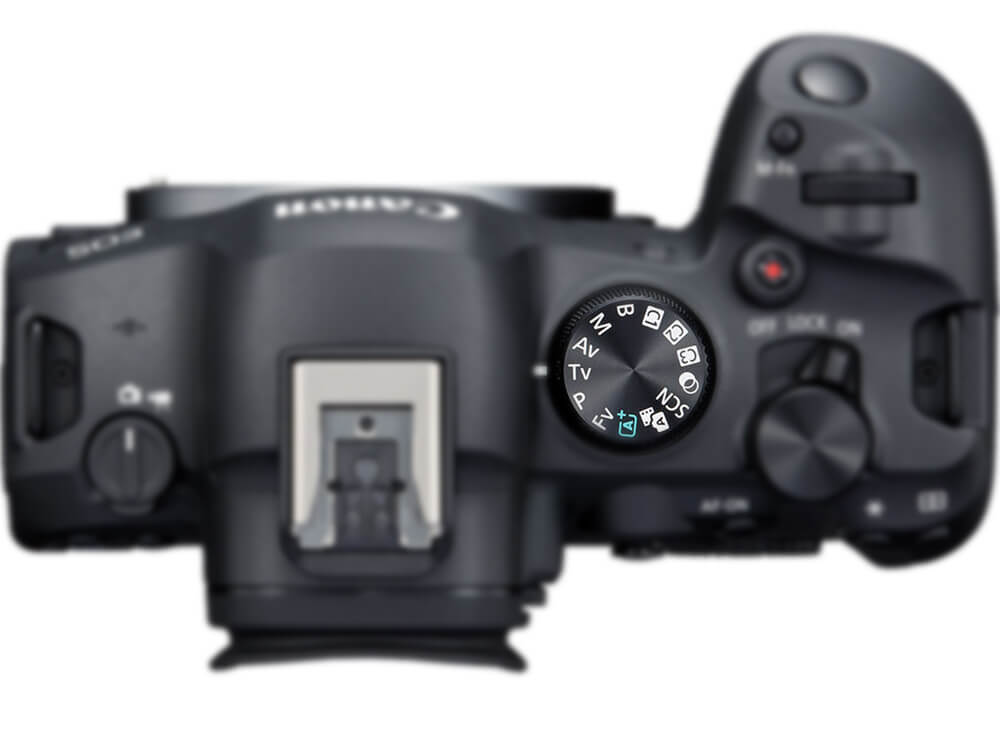
- Canon: Av
- Sony: A
- Nikon: A
Aperture Priority mode lets you control the aperture size while leaving everything else to the camera.
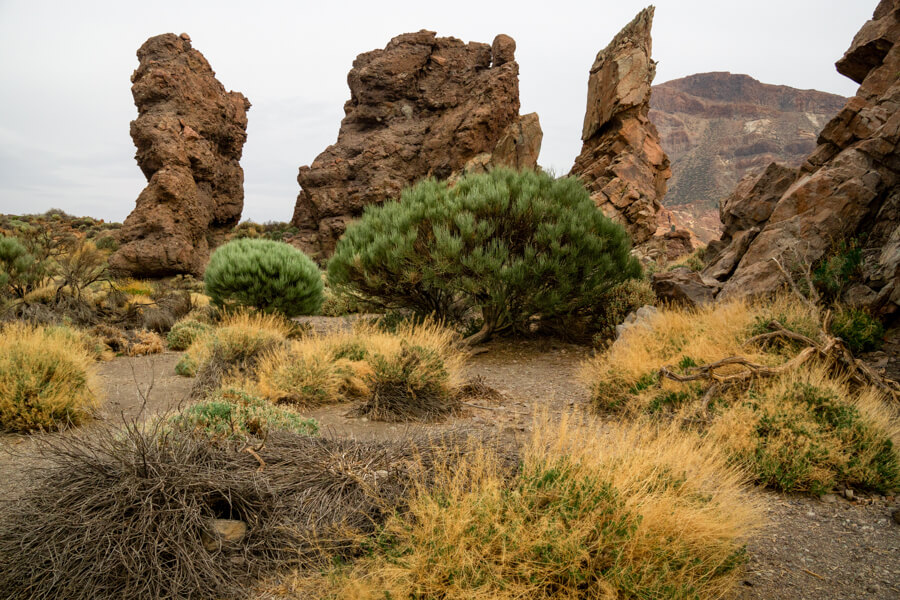
Portrait, flower and landscape photography are great examples for this mode. You only have to worry about depth of field, and by making the aperture bigger or smaller, you change what’s in focus.
In case you’re a complete beginner, remember that small apertures = everything is in focus.
By having only one setting to control, you’re less likely to miss an important moment. ISO and other settings can still be changed.
You can read my full aperture tutorial here where I also include a list of best aperture sizes for different photography scenarios.
3. Shutter Priority

- Canon: Tv
- Sony: S
- Nikon: S
Shutter Priority mode lets you control the shutter speed, but leave everything else to the camera.
Sports, wildlife and fireworks are excellent examples for this mode. Since shutter speed affects how blurred or frozen a moving subject is, you only have to worry about that part.
The longer the shutter speed, the blurrier your subject. Fireworks, waterfalls, light trails are all best done with shutter speeds over 1 second.
For freezing movement (birds, kids, cars) choose a shutter speed over 1/500 and watch how sharp everything will appear.
This is a semi-manual mode used by professionals and beginners who just want to focus on capturing the moment properly. There’s a lot more to it and I wrote a shutter speed tutorial for beginners.
4. Manual Mode
- Manual (M)
Manual mode lets you control every single setting (shutter, aperture and ISO). If you want complete creative control over your images, this is it.
Personally it’s my favorite mode, but I often switch between A and S as well.
It can be quite tricky to start in M mode, especially if you’re a complete beginner. I highly suggest you don’t start learning this mode when you’re traveling or photographing something important.
Instead, switch to M mode when you are casually learning and improving. Trust me, this is the quickest way to understand how to control light. Just dial all 3 settings to complete extremes and watch how your image changes.
- Shutter Speed: Controls the amount of light + how blurred/still a subject is
- Aperture: Controls the amount of light + what’s in focus/out of focus
- ISO: Controls the brightness of an image + visible noise
Many cameras will allow you to select Auto ISO, so you’ve got 1 less problem to worry about. You can also set the minimum and maximum values to ensure your images won’t be too noisy.
You don’t have to shoot in M mode. If you’ve often tried and it seemed like too much to worry about, then leave the settings to your camera and only focus on getting beautiful moments.
Custom Modes
- Canon: C1, C2, C3
- Sony: 1, 2, 3
- Nikon: U1, U2, U3
More advanced cameras allow you to save certain settings to Custom modes.
They are great for very specific situations; when you need to quickly change between 2 different modes but don’t want to waste too much time constantly adjusting them in Manual mode.
Bulb
- Bulb (B)
Bulb mode allows you to keep the shutter open for as long as you want. This could be seconds, minutes or even hours.
Some cameras have this on the mode dial, while others have it “hidden” right after you choose the longest shutter speed of your model. For most, this is 30 seconds.
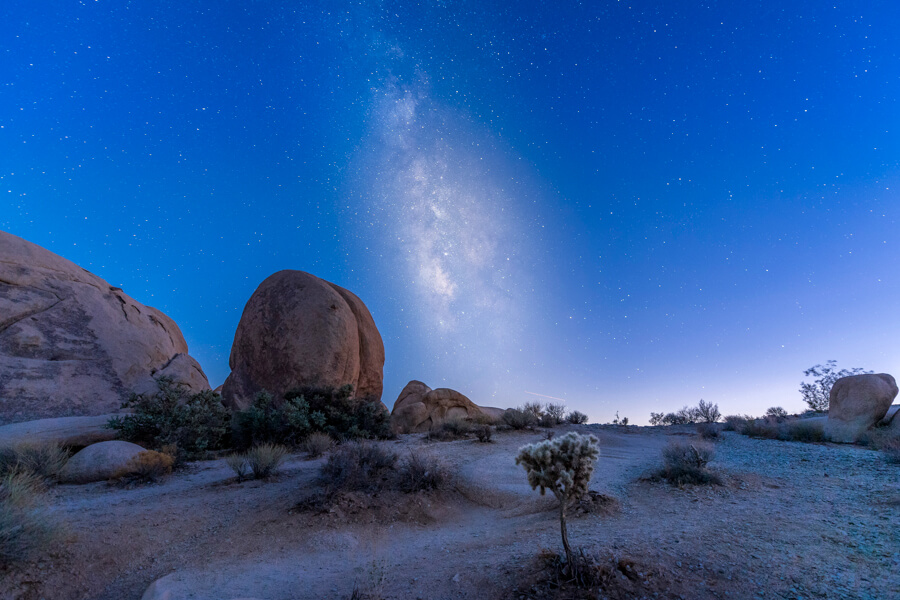
Bulb mode is necessary for doing astrophotography, but make sure to get a wireless remote or connect to your camera through a phone app.
Landscape & Food & Sport
You may find these on most entry-level cameras and smartphones.
Landscape: Your camera will select a small aperture to get everything in focus
Food & Macro: Your camera will select a big aperture to blur the background
Sport: Your camera will select a fast shutter speed to freeze motion
There might also be some variation in contrast and color saturation, but think of all these like the Program mode. Most of them are marketing gimmicks, so I wouldn’t recommend you to rely on them.
On smartphones, they’re much more useful since their edit and fake background blur will be applied differently.
For the most part, I recommend you to stick with Aperture or Shutter Priority modes.
4 Comments
Been spending way too much time on 66clubgame lately, but I’m not complaining! This site’s got so many fun games. Anyone else hooked? Definitely worth checking out 66clubgame if you’re looking for some entertainment.
Sunwinjordano… Hmm, new to me. But I’m always up for discovering new options. I’ll be sure to explore and see what it’s all about at sunwinjordano. Has anyone else tried it?
836707 17179articulo agregado a favoritos, lo imprimir cuando llegue a la oficina. 707258
615751 353981I really delighted to find this internet internet site on bing, just what I was searching for : D too saved to fav. 726145