Why aren’t your images sharp?
You’re probably doing something wrong.
It’s either your technique or bad settings. It could also be your gear, but this is not a guide where I’m going to tell you to get a better camera or lens.
Instead, these are my 16 top tips that I use in all sorts of photography situations. Everyone struggles with getting razor sharp photos, even professional photographers.
There is not 1 secret setting that will make your images look stunningly sharp, but rather a combination of techniques you can keep in your head the next time you’re shooting.
1. Keep your shutter speed higher than focal length
Use the focal length rule if you shoot in Manual or Shutter Priority modes.
“Your shutter speed number should be higher than your focal length number.” If you’re shooting with a 50mm lens, make sure your shutter speed is at least 1/50. For APS-C cameras, this number should be even higher due to their crop factor.
The longer your focal length, the more important this rule is. Any type of movement will look much worse when shooting at 300mm compared to 15mm, especially if there isn’t enough light to match the shutter speed required. Here’s my complete shutter speed tutorial for beginners.
2. Shoot in continuous mode
Most advanced cameras can shoot at least 5 frames per second, with some well over 20.
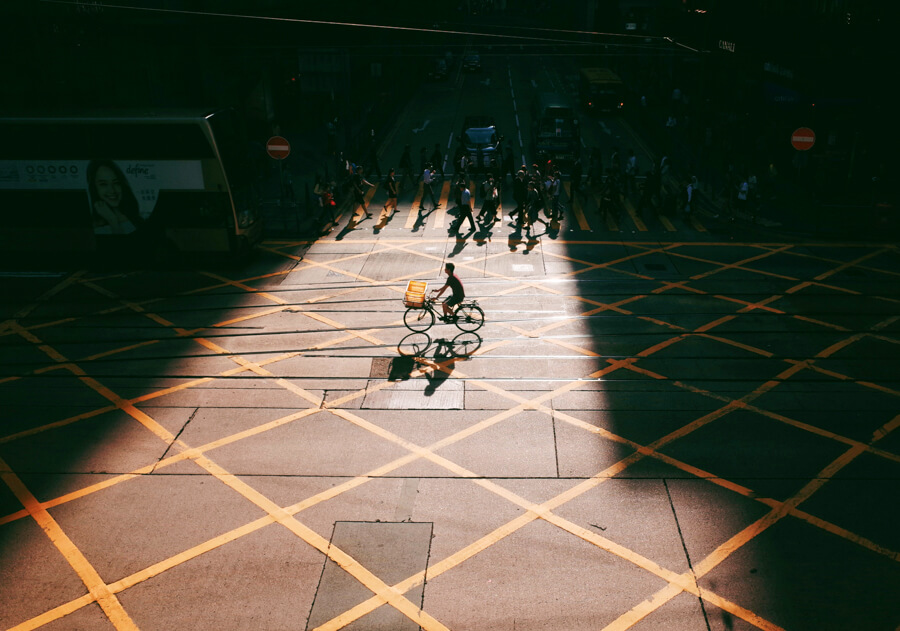
You should shoot in burst mode to maximize your chances of getting a sharp shot. Trust me, this is one of the best ways to get sharp low light results, especially if you’ve got a slow shutter speed.
Whenever you take a picture, you’re never completely still. By taking at least 3-10 pictures in a short burst you know one at least 1 will be sharper than the rest.
3. Low ISO = Max Quality
Even though raising the ISO will help with a faster shutter speed (which helps reduce blur), the best image quality of any camera is achieved at its lowest ISO values.
Why?
Shooting with high ISO results in more noise on your images, which can quickly degrade the quality. More expensive cameras show less noise, but generally you shouldn’t go above ISO 1,600 if you’ve got an APS-C model or a smartphone.
You should definitely raise the ISO enough to get a proper shutter speed that won’t result in a shaky image, but be careful not to overdo it. I wrote an ISO Guide where you can find extra tips on how to find the best setting for your camera.
4. Shoot with f/8 or f/11
Just because your lens can go to f/1.4 doesn’t mean you should always use it.
A small aperture results in more parts of your image appearing in focus. However, doing so will also reduce the amount of light hitting your sensor, so you’ll need to make sure your exposure looks normal.
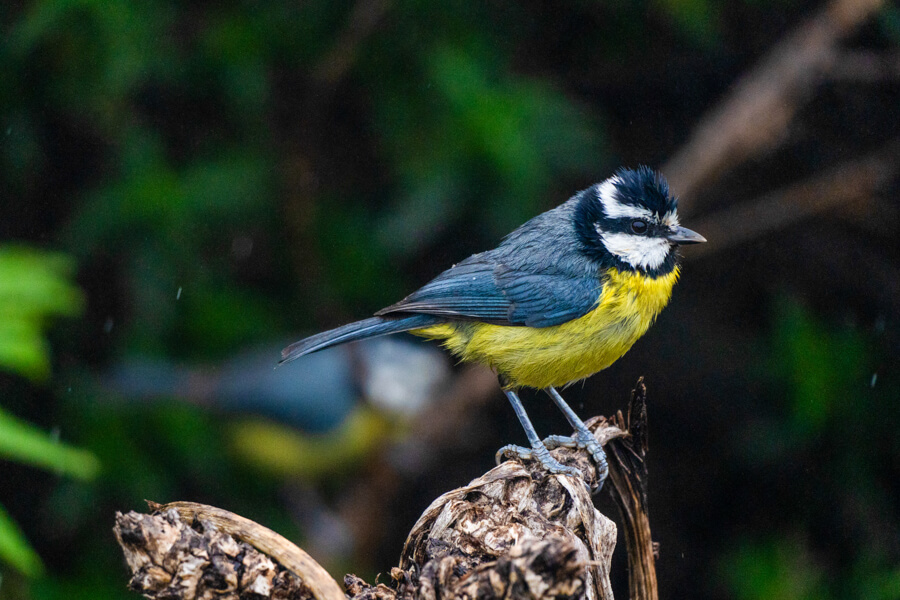
Make sure your aperture is smaller than f/5.6; most people shoot at f/8 or f/11 for razor sharp images. This is perfect for landscape, travel, architecture and street photography, but can be applied to any other situation.
Again, the downside of this is that your images will now appear darker. You will have to raise the ISO or increase your shutter speed to get a normal exposure. Shooting with f/8 or f/11 is also impossible to do in low-light so this tip is mainly for outdoor locations.
Here’s a link to my complete aperture tutorial for beginners and some tips to get blurred backgrounds.
5. Are you holding the camera properly?
When you press on the shutter button or tap the phone screen, you move just a little bit. It’s a guaranteed way to introduce blur when shooting with shutter speeds below 1/125.
Here are a couple of tips on how to hold the camera:
- Make sure you hold the lens from underneath (not top or side)
- Keep your camera as close as to your body as possible
- Use your neck strap as support with telephoto lenses
If you have an articulating LCD screen, you can flip it up and press the camera into your stomach.
When shooting with telephoto lenses, I sometimes place the camera as far away as possible and use the neck strap for support. This is only if my hands/biceps are completely tired, and the neck strap will make sure I use other muscles for stability.
6. Switch to One-Shot/AF-S mode
Do you know all of your camera AF modes?
Most cameras have these 3 (different names on Canon, Sony and Nikon):
- AF-S/One-Shot: Once your camera has 100% locked onto your subject it will let you take a picture
- AF-C/AI-Servo: Your camera will try keeping up with the moving subject, but will let you take a picture regardless of how well it’s doing its job.
- AF-A/AI Focus: Your camera will automatically switch between the 2 modes.
You should shoot in AF-S if you want the highest possibility of a razor sharp image. Your camera won’t even let you take a picture unless it’s 100% certain it got your subject in focus.
The AF-S mode is ideal for static, or slower subjects. For sports and wildlife, switch back to AF-C or AI mode where your camera automatically detects which mode is best. You can find complete tutorials on official pages of Canon and Sony.
7. Use the sharpest aperture of your lens
This is a huge tip!
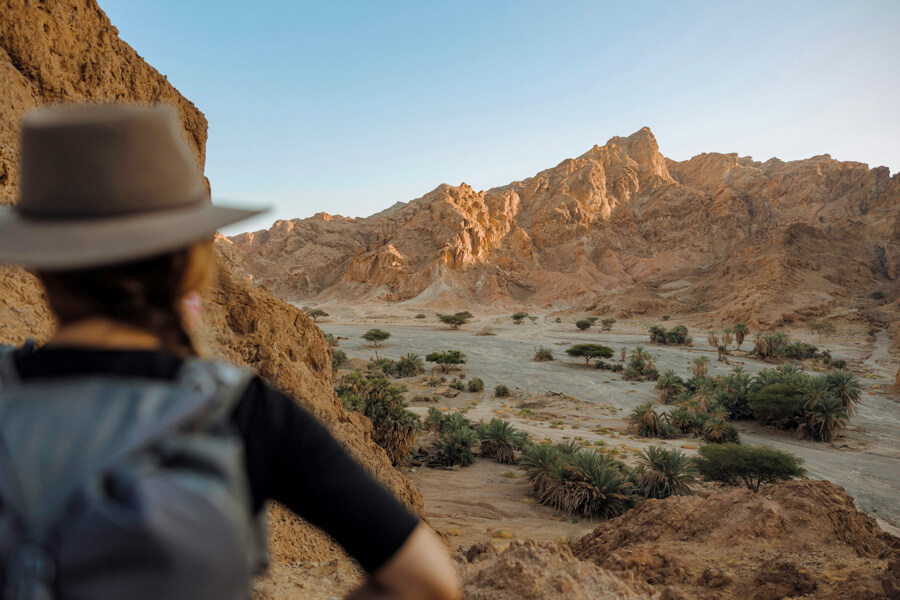
Most lenses are optically worse when shooting with their largest aperture. This is even more obvious with zoom lenses due to having more elements that can optically affect the image.
For example, a 50mm f/1.4 lens will most likely be best when used between f/2 and f/5.6.
You can do this test on your own.
- With the camera static, take one shot at its widest (let’s say f/2.8), and then stop down to a couple of different values (f4, f/5.6 and f/8).
- Zoom to 100% for each image and look at the quality and other flaws (in center and edges)
You might notice weird colored lines, also known as chromatic aberration, or overall softer images. This is all completely normal, especially if your lens wasn’t super expensive.
I know you probably want to use your f/1.8 lens at f/1.8, but you will often have to decide between best quality OR best background blur. Oh, and don’t forget that nobody looks at your images with 100% zoom; it’s easy to get obsessed with having the best quality. The sooner you let it go, the better, especially for your wallet.
8. Focus manually in low-light
Even the best cameras and lenses struggle with auto focusing in low-light.
They need light and contrast to work perfectly, and with lack of both, only the most expensive cameras will be somewhat useful here.
You should focus manually if you see your camera takes more than 1-2 seconds to lock focus. Keep this in mind the next time you’re shooting indoor events, celebrations, concerts or even astrophotography.
It’s not easy to get razor sharp images by focusing manually, but it’s much better than letting your camera do a bad job at it. I can’t even begin to count the amount of times I got home and put the images on a bigger screen, only to see they were hardly in focus.
9. Get a simple, inexpensive tripod
A tripod is one of the most important photography accessories.
Some shots are simply impossible without a tripod; blurred water, fireworks, astrophotography and many more.
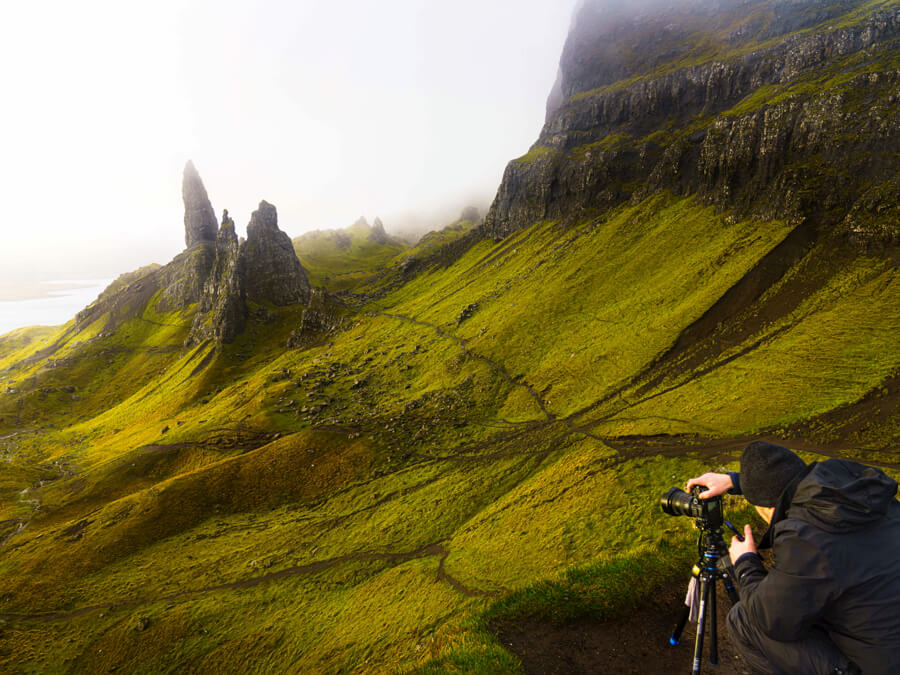
However, you should think consider getting a tripod even if you don’t do any of those. Landscape shooters are notorious for hiking with them. It allows for perfect composition and complete stability. Since landscape photography is done with small apertures, your shutter speed will often be below 1/125.
The heavier your camera, the sturdier your tripod should be. Cheap tripods can easily fall if the wind is too strong, so don’t get the cheapest thing out there ($60+ is an okay starting point).
10. Use a wireless remote or phone
- Wireless or wired remote
- Phone application
- Self-timer (2s, 5,s 10s)
Most mirrorless cameras can be paired with your phone by using their official app. This is perfect if you don’t want to invest in a wireless remote, since you probably carry one in your pocket all the time.
For landscape and static subjects, it’s best to use a 2 second timer. You’ll need a tripod for that of course.
11. Don’t forget about Image Stabilization
This is more of a reminder since you can’t really go out and buy Image Stabilization. Either your camera/lens has it, or it doesn’t.
Image Stabilization can help up to 5-6 stops in the latest lenses. In real life, this translates to being able to shoot with 1/15 instead of ~1/500 and get sharp results! Unfortunately, Image Stabilization (aka VR, OSS) only helps stabilize your movement, not the actual subject.
Don’t forget to turn Image Stabilization OFF when shooting with a tripod, as it may actually cause blur.
12. Get a lens cleaning kit
You should regularly clean your lenses. Okay, you don’t have to be obsessed about it, but whenever I shoot in bad weather (rain, fog, sand) I make sure to go over all the important parts of my camera and lenses.
You’d be surprised how much fingerprints and smudges can affect the quality!
This is especially true for smartphones. Our phones have 2-5 lenses nowadays, which means you’ve got like 5x more chances of one of them being dirty. Dirty fingers and dirty pockets are not the ideal place for clean glass.
13. Use RAW and add sharpness & clarity in Lightroom
RAW files aren’t processed so you will have to do all the work yourself. JPEG images will automatically look sharper and “better” straight out of camera, since they’re already edited.
Add a little bit of sharpness and clarity settings, but don’t go overboard with it. It’s very easy to ruin the entire image by adding too much of it.
Sometimes I only add extra detail to my main subject, and leave everything else alone. In Lightroom this is super easy thanks to its Mask features and automatic subject/background detection.
14. Don’t use lens filters
If you use a bad lens filter on your lenses, it will result in loss of quality and contrast. This is especially true if you bought a filter from an unknown company.
They are great for protecting your expensive lens, but try shooting a same scene with and without the filter. This will be the best way for you to personally test if your $5 filter is degrading the quality of your $500+ lens.
Try shooting with a lens hood if you’re worried about breaking your gear. On the plus side, they also protect against flare which is another useful tip.
15. Use the LCD Screen
You can use your camera’s playback feature to zoom 100% into the image.
It’s way easier to judge how sharp your image is compared to a viewfinder. Most advanced cameras also have an AF display function that highlights which part of the image it focused on. This is a quick way to notice if there are any potential issues with your gear or not.
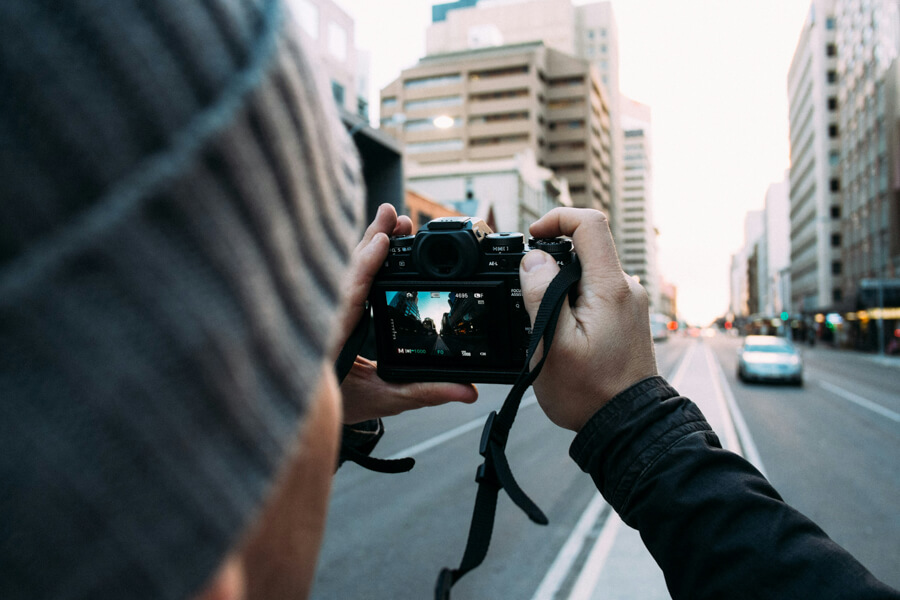
Here’s a quick summary of the most important steps:
- Small apertures improve your lens quality + make everything in focus
- Keep your shutter speed above the focal length number
- Shoot in burst mode for a higher chance of 1 sharp image
- Use lower ISO values to maximize quality
- Relax your breath and keep a good posture

