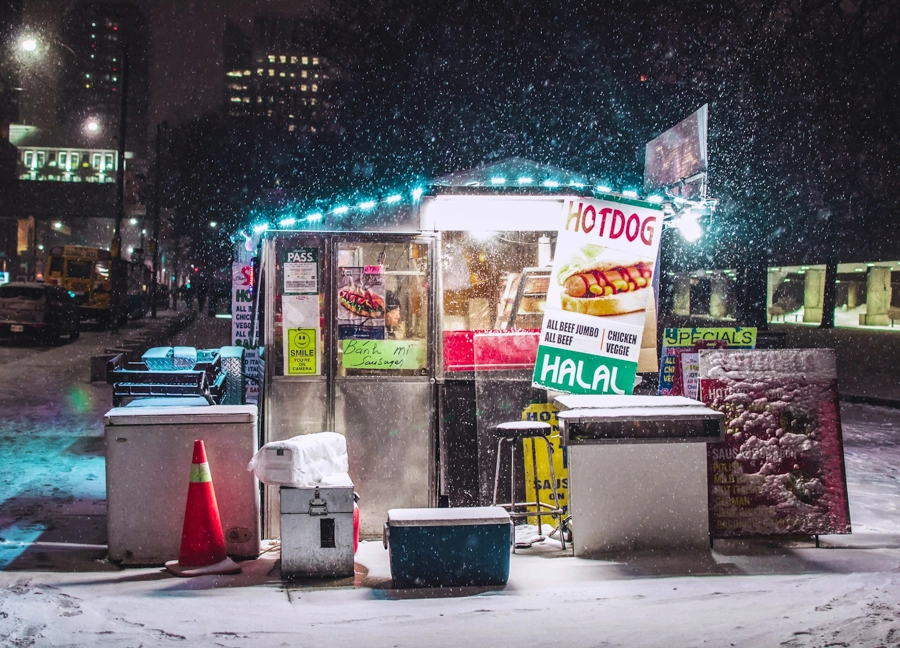
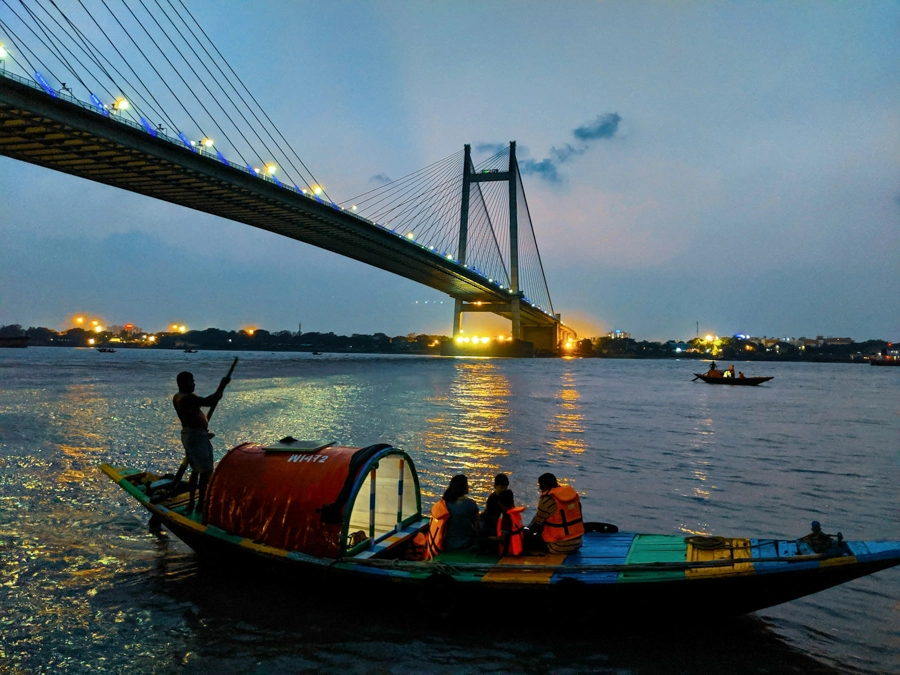
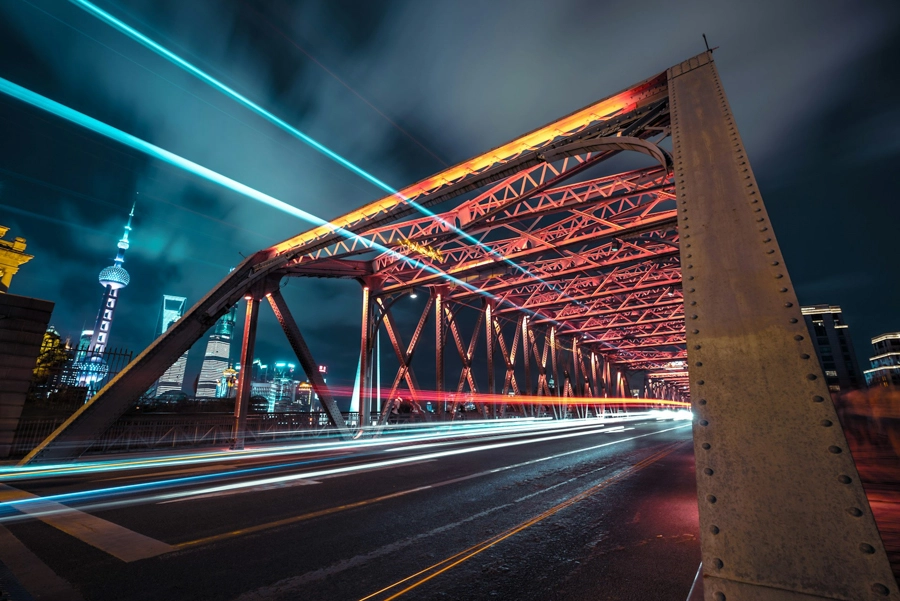
Photographing in low-light is difficult.
Whether it’s indoors or outdoors, the lack of light is a big issue for your camera gear.
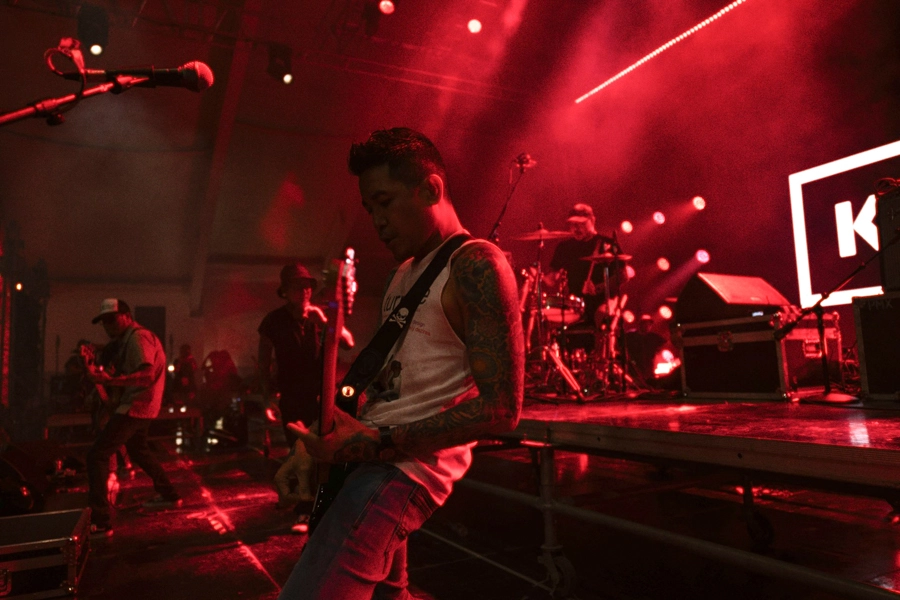
In this guide, I’m going to show you my 10 favorite tips for photographing in low-light. These tips can be applied to weddings, events, concerts and night time photography.
It’s all about finding the right settings that don’t result in blurry images, or too much noise.
1. Shoot with ISO 800+
One of the first things you should do is raise the ISO to at least 800.
Increasing the ISO speed makes your images appear brighter, but will also introduce more noise (I’ll explain how to get rid of it later). The higher your ISO, the brighter your image.
When photographing in low-light, it’s common to shoot with ISO levels between 800 and 12,800. The bigger your camera’s sensor, the less noise it will show. Most modern cameras can still deliver mostly acceptable images up to ISO 3,200.
2. Choose the slowest shutter speed
The shutter speed is another setting you can use to increase/decrease the brightness of your images.
However, if you choose a too slow shutter speed you can end up with blurry images. I assume you want your subject to stay sharp and in focus, so find the slowest possible shutter speed that still gets you good results. There’s no correct setting; just change the values and look at your shots.
What’s the best shutter speed for low-light?
Between 1/15 and 1/125. The darker it is, the closer to 1/15 you should be. Your lens, aperture and overall brightness play an important role, but most low-light situations are all done in this range.
What if your subject is moving really quickly?
This one is tough! Slow shutter speeds are great for static subjects (a landscape at night), but not ideal for moving subjects (rock concert, or a wedding dance). In that case, you’ll have to find the shutter speed that doesn’t blur your subject, and only then apply the other tips in this guide.
3. Select the biggest aperture
Every lens has a maximum aperture size.
Find it, and shoot with it. It could be f/5.6, f/2.8 or even f/1.4. The lower the number, the better.
Aperture is a hole inside your lens that controls how much light reaches your sensor. Big aperture = lots of light, so you want to make your camera’s lift easier by choosing the biggest value. Here’s my full tutorial.
Are there any downsides to big apertures?
Not really, but remember that the bigger the aperture, the more blurred your background will be. In most cases this is what we actually prefer (weddings, concerts, portraits, events, etc.). It can be an issue if you want everything in your frame to appear in focus though (usually landscape).
I know this is not the most helpful tip, but buying a lens with a large aperture is the best way to improve your low-light shots. Most kit zoom lenses can go up to f/3.5, whereas a cheap 50mm f/1.8 can let in almost 4x more light!
4. Lean against something for stability
Slow shutter speeds and low-light can lead to shaky, blurry images.
One way to combat this is to lean against a wall, or make sure your camera is closer to your body. This improves your overall stability. It may not seem much to you, but your camera is “allergic” the smallest movement.
If you don’t have to lean against, check out the tip below.
5. Be smart, buy a tripod
You don’t need the most expensive tripod out there.
A $20 – $100 tripod is more than enough for standard low-light shots. This includes real estate, landscape, astrophotography and much more.
A tripod is an extra accessory you have to carry with you, and it’s not really the most convenient. However, you’d be surprised at how compact and lightweight they can be when not fully extended. Since the beginning of film days, a tripod is the number one accessory for getting higher quality shots.
We can reduce noise with software, but as of today, there is no perfect way to “unblur” your subject. By using a tripod, you reduce the “blur” problem from your side.
6. Shoot in RAW (and raise shadows later)
I know many people are against shooting in RAW, but what if you make an exception in this case?
When photographing in JPEG, your camera does all the post-processing, which is often horrible for low-light photography. I’m sure you’ve heard it everywhere by now.
RAW files have much more shadows and details you can recover.
It can make or break your shot!
I have had countless of situations where RAW files literally saved my images. Import them into Lightroom, slightly adjust the exposure (or use Auto mode) and then simply raise the shadows as high as you want. Voila!
JPEG makes your images convenient, and just enough balanced. RAW helps you in those extreme situations. Learn when to switch between the two modes.

7. Use Lightroom Denoise
If there was no noise, low-light photography would not be such an issue.
Just raise the ISO to 25,600 and you are done. Unfortunately, this results in a ton of noise.
Well, what if there was a way to remove it?
As of 2024, we have Lightroom and Topaz, two amazing programs that can transform your ultra noisy ISO 12,800 images into a clean, ISO 100 like photograph.
I use Lightroom’s Denoise feature all the time, even for outdoor sunny scenes (wildlife, sports). If I want the absolute best quality, regardless of the subject, I run the image through denoise.
This way, your APS-C cameras and smartphones become a much better tool for low-light photography. We no longer have to worry about noise or invest in full-frame cameras just because of it!
8. Shoot in burst mode (or even 4K video)
This applies to moving and static subjects.
If you shoot in burst mode (continuous shooting), you increase your chances of getting a sharp shot.
For example, if you take 10 shots in a single second, 1 of them will be sharper than the rest. Perhaps you were more stable for that split second, or your moving subject wasn’t as fast.
Whatever the case, burst mode is not only for sports scenes with 1/1000+ shutter speeds. If your shutter speed is 1/30, don’t expect a trillion shots in 1 burst, but it has still helped me plenty of times.
If you’re not sure whether you want a video or a photo of your subject, try shooting 4K video. Afterwards, pause the video at the sharpest frame and cut it out. 4K resolution is around 8 megapixels, which is more than enough for a high quality shot.
9. Switch to manual focus in complete low-light
Most cameras have these 3 autofocusing modes (different names on Canon, Sony, Fuji, Nikon):
- AF-S/One-Shot: Once your camera has 100% locked onto your subject it will let you take a picture
- AF-C/AI-Servo: Your camera will try keeping up with the moving subject, but will let you take a picture regardless of how well it’s doing its job.
- Manual Focus: You control the focus by rotating the front lens ring
Guess what?
In low-light, many cameras simply can not auto focus. There isn’t enough light and contrast for them to assume what the main subject is.
Even if they figure it out, it might take them a couple of seconds, but that’s usually too late.
Switch to MF/Manual Focus and simply twist the front lens ring. It’s easier to use the LCD display instead of the viewfinder to see if your subject is sharp.
It takes a little bit of practice, but might save you in harsh situations. If your subject doesn’t move too much (at least towards/away from you), your manual focus will only have to be adjusted slightly. This could be a fraction of a second compared to hoping your camera’s AF mode.
10. Use your smartphone flash
Since you probably always have a smartphone with you, here’s how you can use it:
- Rear Flash – Good as a direct light source for small subjects
- LCD Screen – Good as a soft, fill light (choose a white background)
When to use the rear flash? When you need to be 100% that your manual focus is spot on. Assuming your subject isn’t moving, position your phone next to the subject (or have someone else do it) while taking the picture.
The LCD screen is great for smaller objects, such as products or creative ideas. Change your LCD screen to any color (either by Googling or using an app) and it’s basically like a pocket LED light.
It’s not super strong, but will definitely provide enough light illuminate any subject you are close to.
6 Comments
Let’s get logged in. Need to see what six6slogin is all about. Gonna go ahead and click this six6slogin link!
98pkrgame! If you are a fan of poker then give this one a try. The website is pretty clean. The game seems fine so far!. You get it 98pkrgame.
Hello this is somewhat of off topic but I was wondering if blogs use WYSIWYG editors or if you have to manually code with HTML. I’m starting a blog soon but have no coding knowledge so I wanted to get advice from someone with experience. Any help would be enormously appreciated!
Enjoyed reading this, very good stuff, appreciate it.
629240 650828extremely nice post, i definitely enjoy this fabulous web site, persist with it 168483
This really answered my downside, thanks!