Pet photography is super fun and unpredictable because you never know what to expect.
After photographing pets for many years, this is my list of the 16 most recommended tips for both “portrait” type animal photography, as well as more candid and casual type.
Your camera doesn’t matter (these tips apply for smartphone users as well), but having a mirrorless camera will definitely help. The majority of this guide is about using the available light, angles, and getting better at capturing moments.
1. Shoot at Pet’s Eye Level
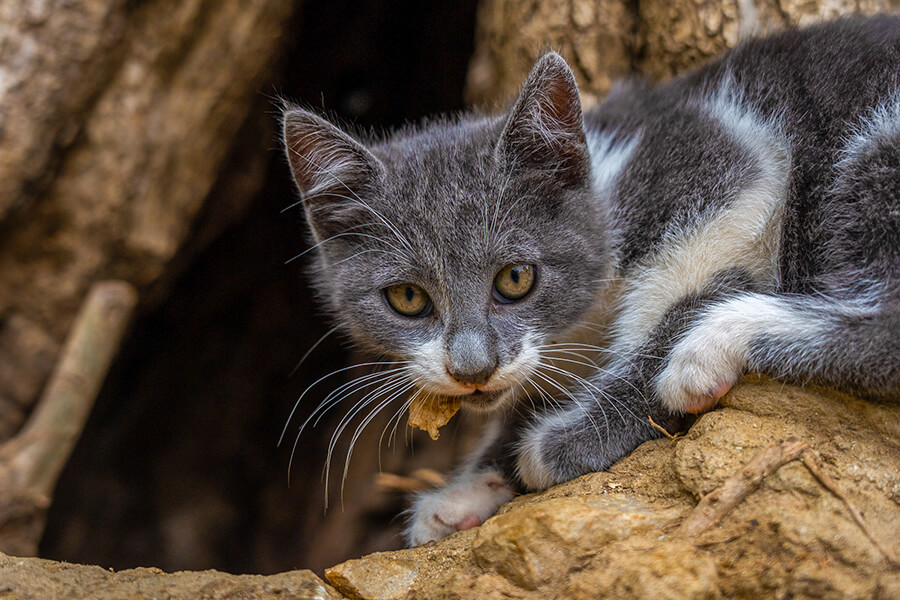
This is the most important tip by far!
Crouch down and get on the same eye level as the pet you are photographing. Trust me, we see our dogs and cats from above everyday and it looks boring on a photograph.
Plus, a lot of pets see crouching as an invitation to play so make sure to have your camera ready to capture them as they are approaching you (probably in an excited way). You only have a few seconds of their interest.
On the other hand, some animals get scared when you’ve got a big camera setup and crouch to their level, so do it slowly and casually. Let them see you’re not dangerous, look around for a few seconds and don’t be too pushy (sometimes you might have to ignore them for a little bit).
- TIP: Get down to the pet’s eye level for more natural and fun photographs
2. Shoot After Sunrise or Before Sunset
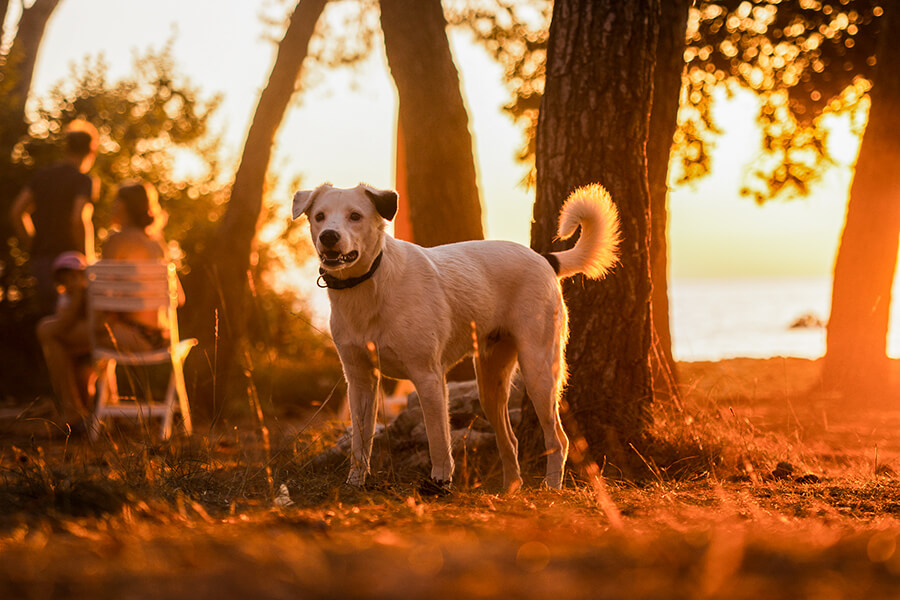
The best time to photograph pets is an hour or two before sunset. You’ve got warm and rich colors that make your subject pop out.
One of the biggest issues for “crappy” looking shots is photographing in the middle of a sunny day with no clouds. Sure, your pet is super bright, but the shadows are too harsh and create too much contrast.
If you are photographing a client’s pet, make sure to be at the location a little bit earlier. You’ll have enough time to see the pet and get a feel for their energy, and then you can combine your photo ideas with the golden hour light (aka before sunset).
An alternative is to go out right after the sun rises and get a soft, but slightly cooler light.
3. Focus on the Eyes
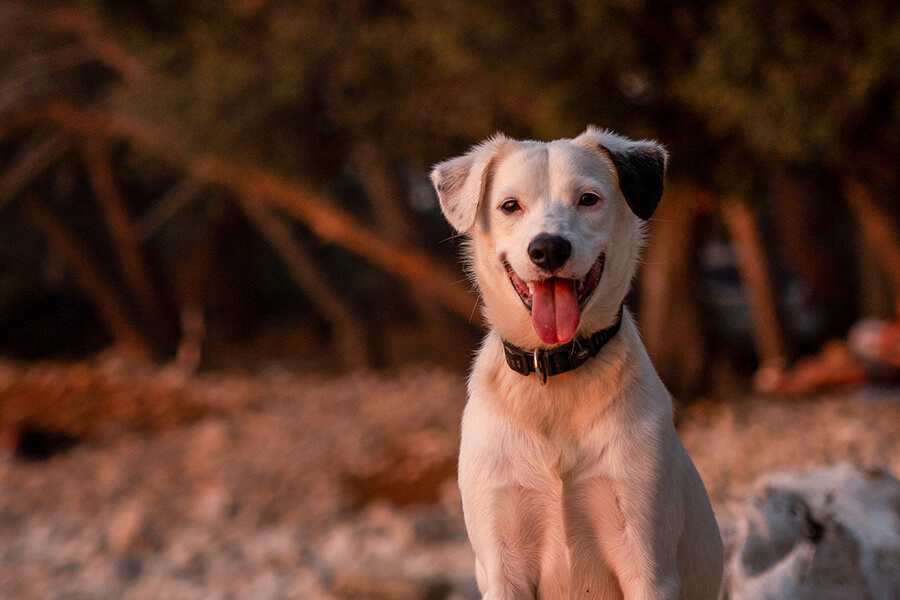
It doesn’t matter what your pet is doing, in 99% of the shots people will automatically look at their eyes first. If they don’t appear in focus, it will most certainly ruin the photograph.
A lot of newer cameras and phones have the ability to detect eyes, which helps tremendously because you can be confident in your gear to properly help you out. Some more advanced cameras can actually detect different types of animals even if they’re not looking directly into the camera.
- TIP: The eyes should always be in focus.
4. Include the Environment
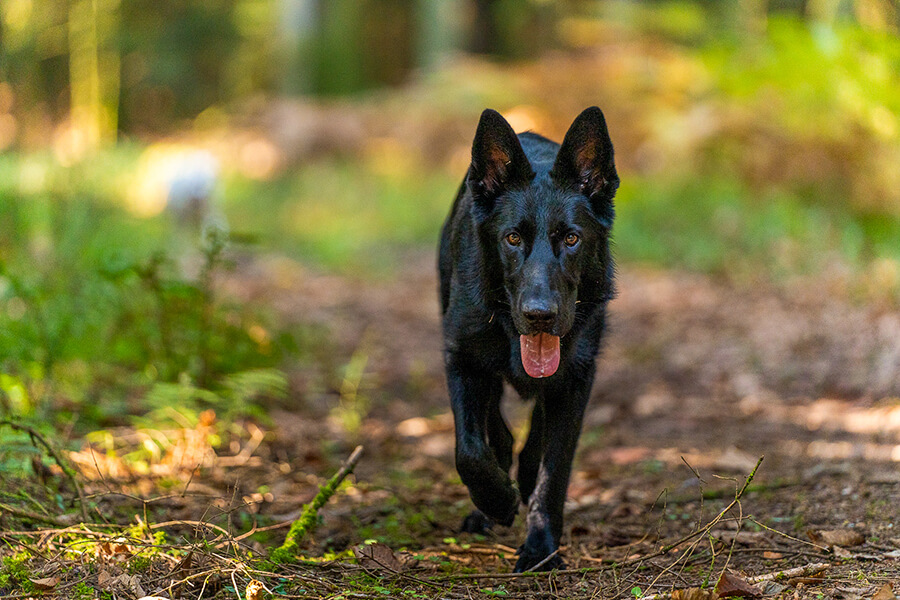
Many beginners tend to zoom in too closely in their pet’s face when taking photos. Although they are adorable, unless they’re making a unique expression, this approach can make the shoot seem boring.
Your pet is the main subject, but the environment can make or break a photograph just as well.
Where are you photographing? Is there a way to include the location/elements and give the viewer an idea of where your pet actually is.
- Are you photographing in a forest? Include the trees, bushes, vegetation.
- Are you photographing in a city? Use the buildings, walls and people.
Even when photographing indoors without a studio setup, including furniture or toys can significantly enhance the overall appeal of the shot for the viewer.
5. (Indoors) Use the Window Light
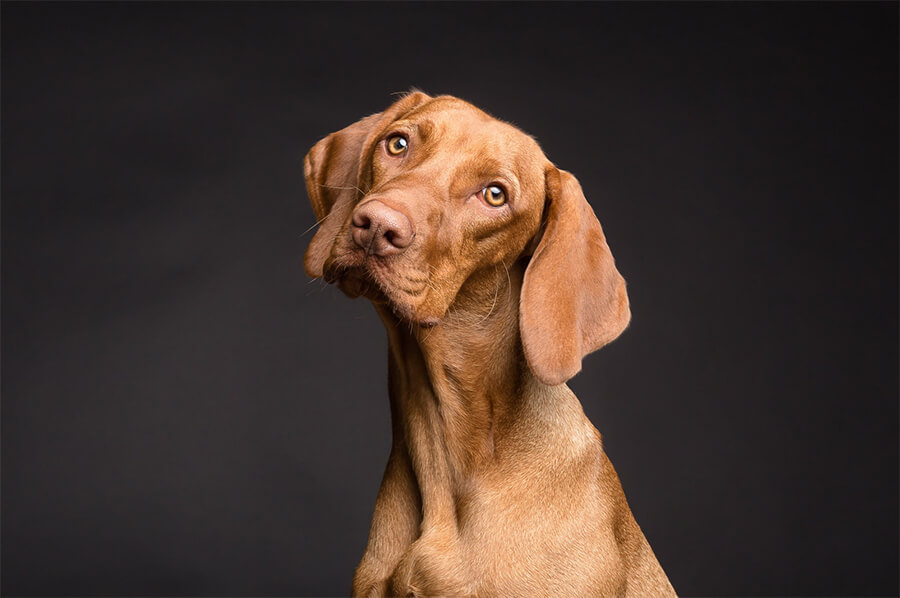
If you’re photographing pets inside and don’t have studio lights available, just use the biggest window you can find as your main light source and put a big white blanket/curtains over it.
Position your pet so the window light is hitting their side. This will result in soft shadows and a clean, calm looking light. If you need more light, find something bright and big that you can use to reflect the sun even more onto your pet.
You can also position them so that they’re looking directly into the window. The light won’t look as “complex” as from the side (because there won’t be any depth created by the shadows), but their entire face will be evenly lit.
You can even put a dark blanket far behind the dog to get a more studio like scene and completely isolate them.
6. Use a 5-in-1 Reflector for $20
Photography is all about light. The more you can control it, the better your shots will look.
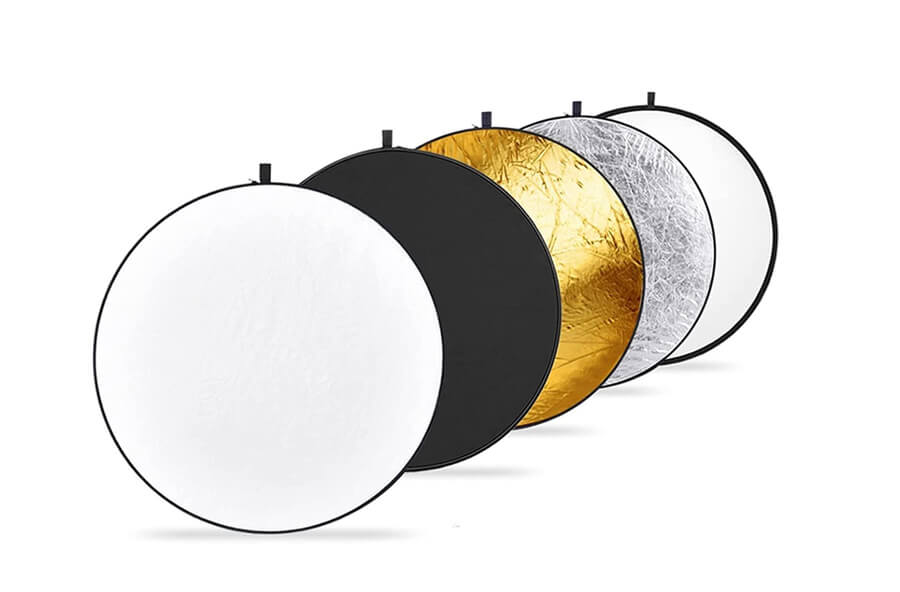
If you don’t have studio lights available, or are shooting outdoors, simply bring a 5-in-1 reflector and use it to bounce the available light onto your pet. It helps if you’ve got someone else to help you with this!
This is super useful when shooting on a bright sunny day, as ironic as it sounds. You can use it to bounce the light on your pet’s darker side and bring up those lost details. Don’t overdo it as you still want one part of their face to be a little darker.
Most 5-in 1 reflectors have a gold, white, black, silver and translucent layer for quick changing.
7. Use the Foreground for Storytelling

When taking a photograph, we capture our beautiful 3D world but show it on a flat, 2D photo. A lot of that magic gets lost in this process, so here’s a useful tip to remember.
Include a little bit of foreground.
It all depends on your location, but try to pick an object that fits the environment.
For example, if photographing in a forest, use a small bush or a tree as the foreground, and leave enough room behind for the pet.
If you’re photographing indoors, use a toy or a part of the furniture. Keep your focus on the pet of course, you want that foreground to be blurred enough that it doesn’t distract from the main subject.
This gives the photograph way more depth and that “3D” feel. Most of your shots will have a background anyways (unless you’re shooting in front of a wall), but just a small amount of a foreground element can really help here.
- TIP: Use foreground elements to make your subject stand our more. Trees, toys, other animals/people.
8. Don’t Choose the Biggest Aperture
Related: What is Aperture? The Ultimate Guide (+Tips)
A lot of people buy a lens with a big aperture, such as f/1.8, and only use it at f/1.8. That’s why you bought it right?
For certain portrait style shots, it’s absolutely fine and will make your pet stand out, but it’s not always recommended.
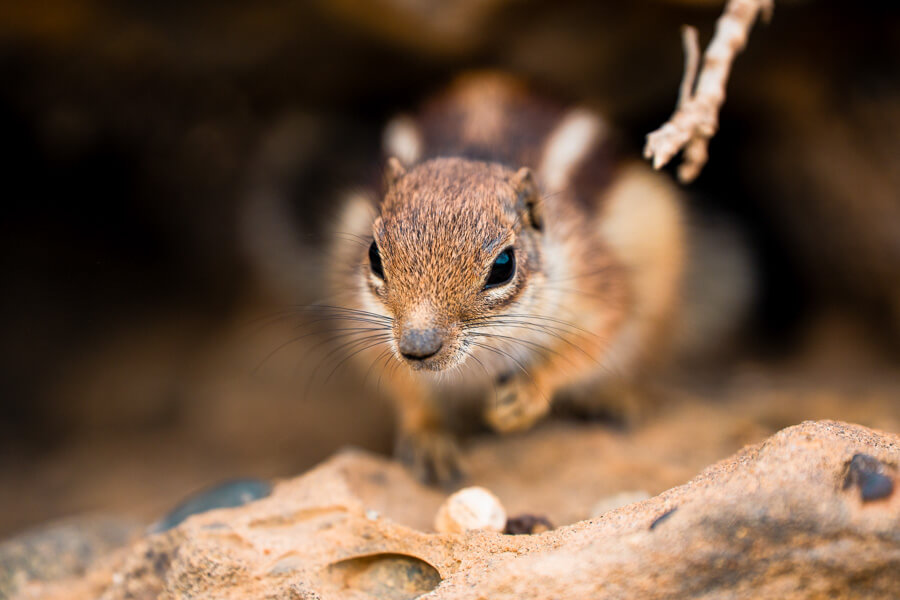
Instead, try shooting between f/2.8 – f/4. Your background will still appear out of focus/blurry, but will retain enough information for the viewer to understand the rest of the scene. If you’ve got hundreds of photos of your pet in different locations, but they were all taken at f/1.8, it ends up looking the same after a while.
Plus, with something like f/1.4, if you miss the focus it will be instantly visible. An aperture of f/4 allows you to get the entire face or body of the pet in focus, rather than just their eyes.
- TIP: Try shooting between f/2.8 and f/4 instead of the biggest aperture you have. It gives more meaning to your background/foreground.
9. Wait, Wait, Wait
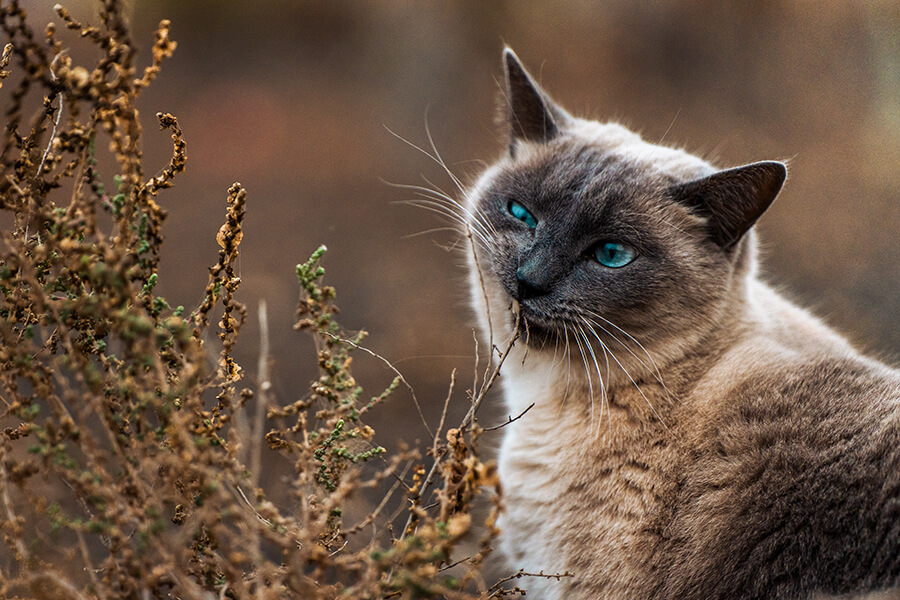
Most of the time, animals don’t do anything “exciting” or worth taking a photograph, especially if you are trying to force the moment.
You should let them relax and figure out their tempo, and only then be ready to capture them based on how they behave. For every fun moment I captured of a pet, I’ve got hundreds of boring shots just a few seconds before/after.
Wildlife and bird photographers can wait hours or even days to get that perfect moment.
10. Dark Pets? Shoot RAW
 Taking pictures of dark/black pets is quite hard, especially if your environment is really bright.
Shoot in RAW (instead of JPEG) and then bring the shadows up in post process to get more details of your pet. Many phones and apps nowadays allow you to shoot in RAW format, so this tip is not for mirrorless photographers only.
I usually expose for the bright parts and then raise the shadows, as well as lower the highlights in Lightroom. If you expose for the pet, everything else can look overexposed and washed out.
After that, I mask out the pet only and change the exposure/shadows even further without ruining the rest of the image.
11. Plan Your Shots
It always helps to have a couple of reference photographs in mind, especially if it’s a paid gig. Some clients might even come with their own ideas for you to try.
I usually just screenshot images I like and put them in a separate folder on my phone/computer. Figure out what it is about the photograph that caught your attention and do it in your own way; was it the light, the position of the pet, the angle?
Use Instagram, Flickr, Pinterest, or even google a couple of pet photographers to see their style.
Here’s a helpful list to bring along that will cover most of your shots:
- Wide photos
- Standard photos
- Telephoto photos (pet portrait type)
- Macro (details) or extremely wide (scenery)
Having so many different angles will ensure your photographs look unique and stand out.
12. Focus on Details

Some pets have unique details that are worth capturing. It could be their fur, a special mark, or simply their eyes. If you’re photographing for a client, shots like these could mean a lot to them as they are very personal.
This is why you need to plan your shots before, otherwise it’s super easy to forget this.
13. Use Toys or Food for Camera Attention
We all know it’s incredibly hard to get the pet to look directly into the camera. It’s like they intentionally look away as soon as you point a camera at them.
That’s why you should use simple treats or a toy they really love, and reward them whenever they look at you for a few seconds. If you are photographing for a client, ask them to bring a looot of stuff because you will probably need to use them all.
It also helps to make noises/clicks every now and then, but make sure to have the camera ready by the time they look. After a while they probably won’t respond to your weird sounds anyways.
14. Only Shoot From Above If There’s Eye Contact

While 90% of my pet photography happens at their eye level, it can be fun to take a few shots from above. This way they appear even smaller and cuter.
Don’t forget to get their attention and have the eyes in focus though. Without eyes, photographs from above can look too generic.
15. Include Other Pets & People
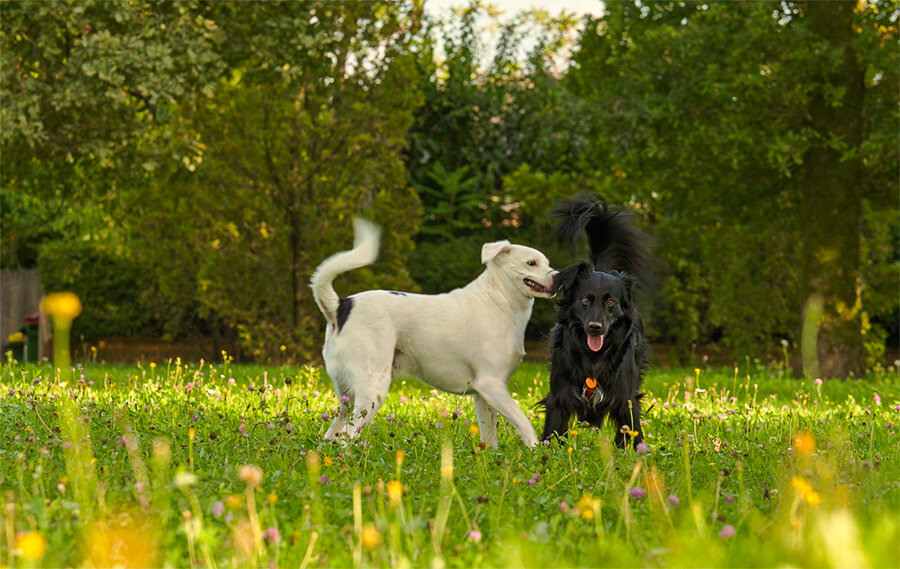
Including other pets and people will make your photographs much more energetic and fun to look at.
A lot of pets feel way more relaxed when they are not completely alone, and if you manage to capture them while playing, you are guaranteed to get some amazing expressions and poses. Use the burst mode of your camera to maximize your chances.
If you’ve got adults or kids interacting with the pet, tell them to face towards the camera. They don’t have to look directly into it, but just like with pets, it’s much better to see their faces and emotions.
16. (Indoors) Remove Useless Items
If you’re photographing an energetic dog or a cat indoors, you might end up with a lot of useless stuff in your shots (shoes, dirt, random items).
Remove anything that you don’t want to clean in post process later, but keep the things that add to the story (toys, chewed items, their favorite food etc.).
Best Camera Settings For Pet Photography

What are the best settings to capture pets? It all depends whether they are completely still, or moving around quickly.
All mirrorless cameras and DSLRs allow you to change these settings, as well as the majority of smartphones (try downloading an app if your native camera doesn’t support manual modes).
The 3 Main Settings
- Shutter Speed – If your pet is moving quickly, go with 1/250, 1/500 and anything faster. The slower the shutter speed, the more blurry your moving subject will appear. The slow shutter effect can be useful to give the image a feel of movement, but this is easier said than done.
- Aperture – The bigger the aperture, the more blurred your background will appear. Choose between f/2 and f/5.6, which are big and also let in plenty of light. If you are shooting in low light or at night, stick closer to f/2 or whatever the biggest aperture of your lens is.
- ISO – After you have selected your shutter speed and aperture, you should only increase the ISO if your image still appears too dark. Raising the ISO will introduce more noise so be ready to remove it in post process. Staying between ISO 100 and 800 will give you the cleanest look.
Focus Settings
- AF-C/Continuous – For moving subjects I always use the AF-C mode; it’s constantly tracking the subject and doesn’t limit how often you can take a picture. On the other hand, AF-S/Still mode only allows you to take a picture if the camera thinks the subject is totally in focus. The latter mode is great for still pets or slower situations.
- Single AF Point – For pet’s that aren’t moving I almost always use Single AF point mode and manually move my focus point (with a joystick, dial or touch screen). It gives me the most control over the composition and my focus, which is almost always on the animals’ eyes anyways.
- Zone AF – For pets that run around or are unpredictable, I use Zone/Group AF and let the camera choose focus in my specified area (a bigger group of points).
- Eye/Animal AF – A lot of new cameras can detect human and animal faces so I always enable this option on my Sony mirrorless cameras. It makes the AF process a lot easier because I have a bit more faith in the camera’s performance, knowing it’s looking for eyes all the time.

