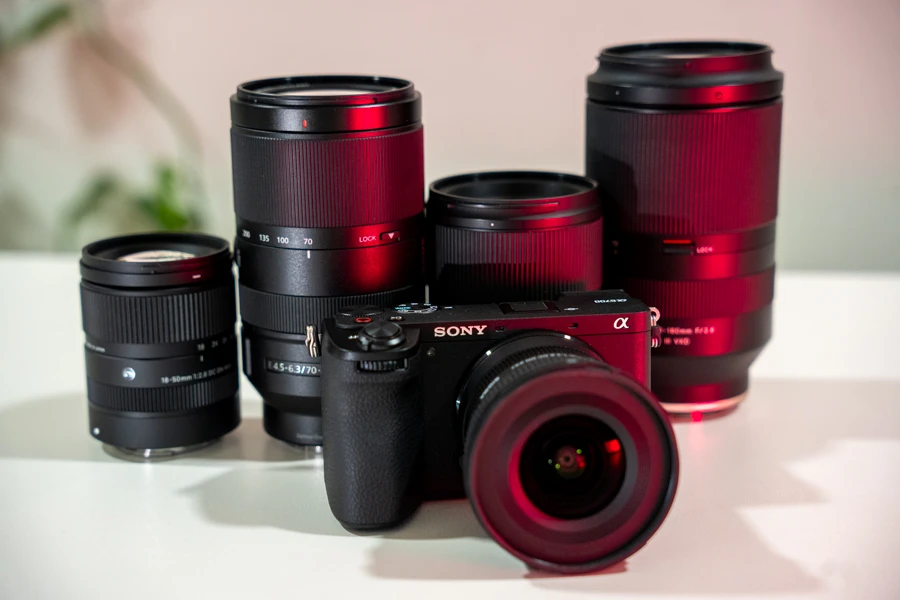
If you just got the Sony A6700 and want to know which settings will make your 4K videos look the best, this is the guide you need.
The Sony A6700 is capable of delivering high quality 4K videos that matches the look of more expensive cameras. However, there are a couple of settings you’ll need to enable to get the most out of it.
1. Change Auto Power OFF to ‘High’
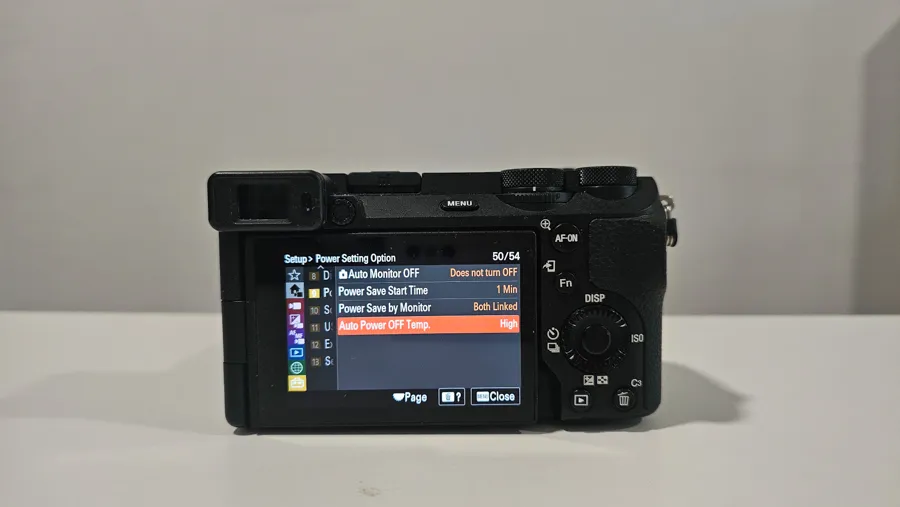
This should be the first setting you change on your Sony A6700.
Head over to Settings>Power Setting Option>Auto Power OFF Temp.
- Choose “High”
The A6700 gets warm quickly, especially when recording 4K videos for over 30min. By enabling ‘High’, you raise the automatic limit that triggers the camera to turn off, which by default is set way too low for most people.
Personally, I haven’t had any issues at all because I rarely shoot single clips longer than 30 minutes, but rather separate files. However, if you do interviews or long time-lapse, you’ll need this setting.
2. XAVCS HS 4K for Best 4K Quality

For selecting the highest possible quality, head over to “File Format” in Shooting>Image Quality/Rec menu option.
If you’re not familiar with any of these terms, here’s a breakdown:
- XAVC HS 4K: 4K video with best type of compression (smaller files)
- XAVC S 4K: 4K video with less compression (bigger files)
- XAVCS S-I 4K: 4K video with no compression at all (huge files)
For 90% of A6700 users, XAVCS HS 4K is the best option. It produces manageable file sizes that won’t take too much space on your SD memory card or computer, but may be harder to edit if you’re using a very old computer.
Oh, 4K resolution is way bigger than HD, so I ignored those 2 options the camera provides.
3. Best Bitrate for Colors & Quality
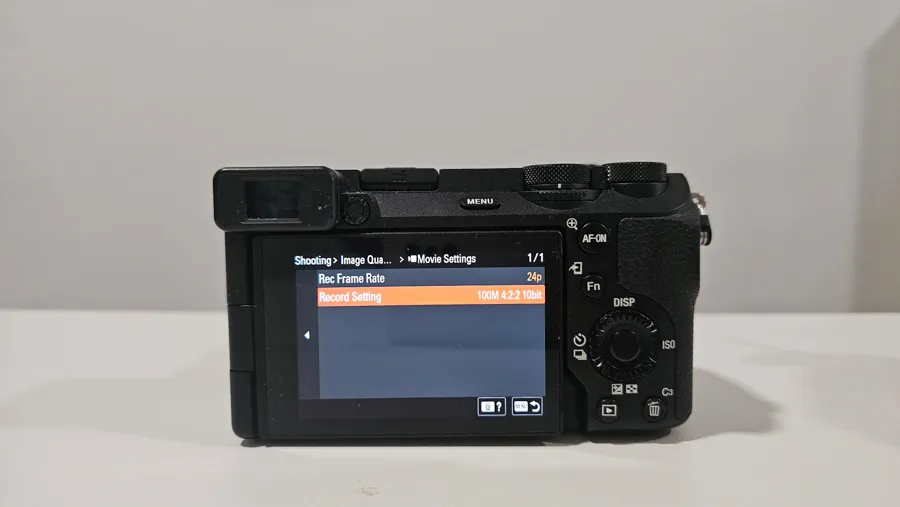
The higher your bit rate, the better the video quality. Unlike previous A6000 series cameras, the A6700 finally allows 10-bit recording to get the most amount of detail and colors out of your footage.
To change the bit rate, find “Movie Settings” which is right under the File format option from above.
The available bit rate will change depending on your frame rate.
For 24p frame rate:
- Choose 100M 4:2:2 10-bit
For 60p frame rate:
- Choose 200M 4:2:2 10-bit
10-bit is better than 8-bit, and 4:2:2 is better than 4;2:0 when it comes to how much information the video files contain. However, these differences will be much more noticeable if you plan on heavily color grading your videos.
For regular recording of your trips or scenarios you do not plan on editing at all, you can still go with 10-bit and 4;2:0 and get 99.9% identical results. 8-bit would also be fine, but since our memory cards and storage is so cheap, you might regret it years later.
4. Unlock PAL/NTSC Region
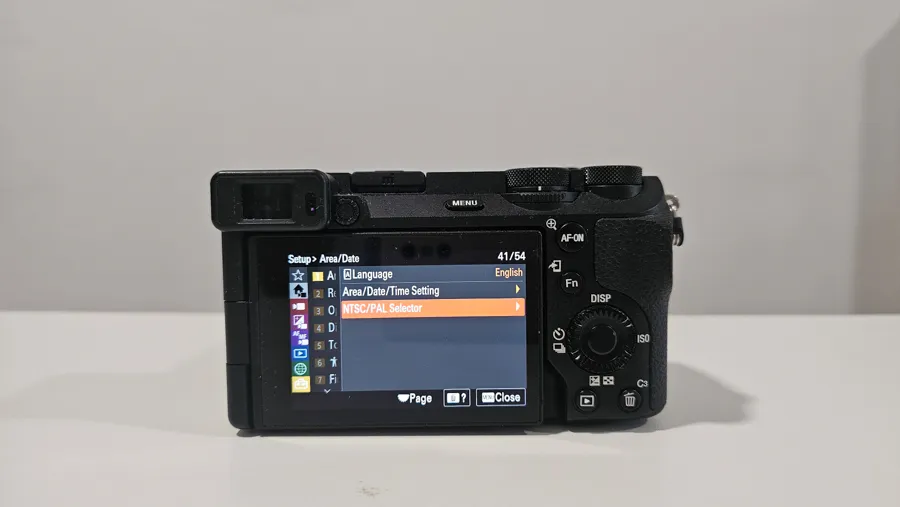 If you don’t see the 24/60/120p frame rates available, you’ll have to change the NTSC/PAL region.
Head over to Setup>Area/Date (yellow tab, page 41/51) which is all the way down in the main menu system.
- Choose NTSC
Make sure to have your files backed up, as you might lose them during the switch.
5. Enable ‘Recording Display’ Red Frame
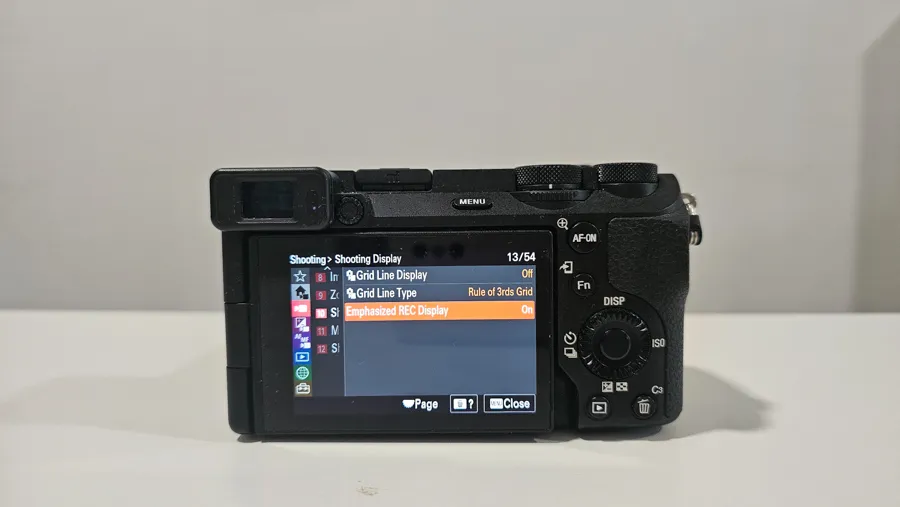
It’s not always obvious if you are recording or not, especially if you are not right next to the camera.
There’s an option that gives a red overlay to your LCD when recording.
Go to Shooting>Shooting Display (page 13/54):
- Turn ‘Emphasized REC Display’ ON
6. S-Cinetone for Best Overall Quality, S-Log3 for Best Grading

Picture profiles affect your overall video quality, as well as how much room for grading you have in post-processing.
While there are a couple of different ones on the A6700, the 2 main ones are:
- S-Log3 (use PP1 option in the menu)
- S-Cinetone (use PP11 option in the menu)
S-Cinetone is excellent for getting beautiful colors and dynamic range straight out of the camera. You can still color grade it if you want to, but it’s already usable. I use S-Cinetone 90% of the time when I know I will not have the time or energy to do any Davinci Resolve/Premiere editing.
S-Log3 gives you a bigger dynamic range, but is trickier to work with. For starters, the ISO levels will affect your quality much more, and you will often have to overexpose by 1-2 stops. Unless you have lots of time before and after recording, stick to S-Cinetone. It’s nearly impossible to get daytime videos without an ND filter.
Read more: Sony A6700: 10 Best Settings for Perfect Photos
7. Have Different Settings for Photo & Video

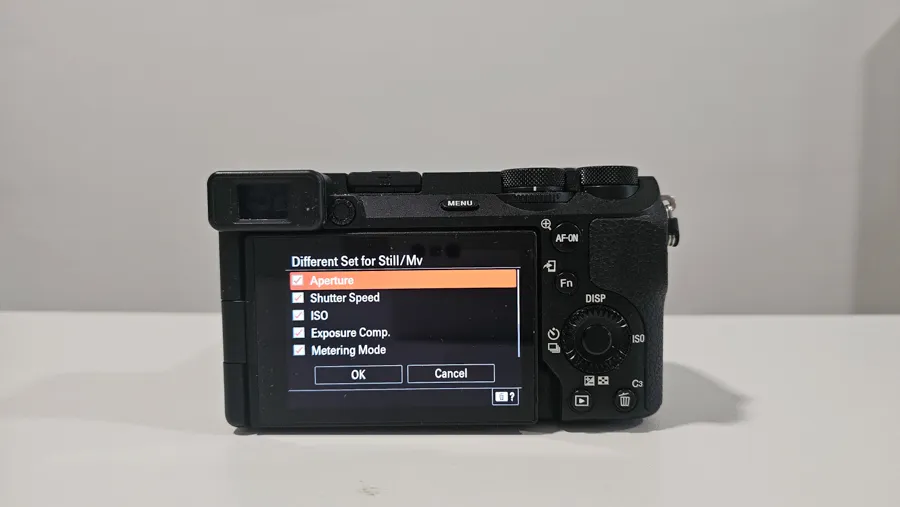
A lot of us are hybrid shooters, which means we constantly switch between Photo & Video mode.
However, for videos, you’ll often have a fixed shutter speed; 1/50 or 1/120, especially if you want a cinematic feel. You don’t want the camera to remember the ‘Photo’ mode values, which are usually way different.
Go to Setup>Operation Customize>Different Set for Still/Mv (page 43/54):
- Uncheck every option you see on the image above (aperture, shutter speed, etc.)
This is how you can have different settings for Photo and Video modes separately.
8. Use Manual White Balance
When taking pictures, it’s okay to have Auto White Balance enabled.
Unfortunately, you can’t have the same for professional videos. If you go from indoors to outdoors in a single video clip, your camera will adjust the White Balance on the spot, and there’s no way to change it later.
Make sure to Disable Auto White Balance, and set the Kelvin’s manually or choose one of the existing values.
9. Choose the Stabilization Mode
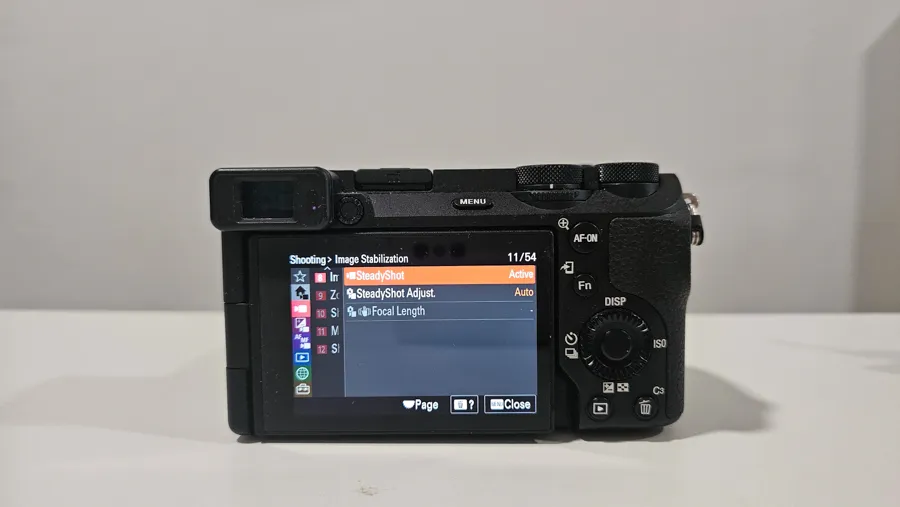
If you’re not shooting with a gimbal, this is how you can make sure your videos are stabilized. Nothing ruins a video more than shaky, jittery movement.
Go to Shooting>Image Stabilization>SteadyShot:
- Active (1.1x crop)
- Standard
- Off
Active Stabilization works very well, and will give you the smoothest results in-camera. It applies a small 1.1x crop though, so your lenses will appear slightly longer. For example, a 50mm lens will have the same field of view as a 55mm lens.
Standard Stabilization uses the regular body/lens combination, so no crop is applied.
10. Enable Subject Recognition AF

The Sony A6700 has incredible AF capabilities, and can recognize these subjects:
- Human
- Animal
- Bird
- Insect
- Car/Train
- Airplane
It works very well, so make sure to enable the Subject Recognition in AF option.
11. Use UHS-II Cards for 4K 120p
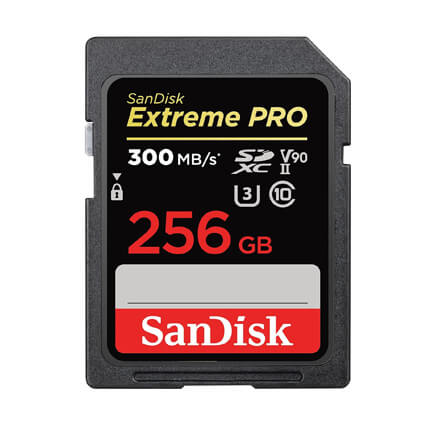
Memory Card for Sony A6700: The SanDisk Extreme PRO V90 is the best you can get, choose between 128GB or 256GB.
Recording slow motion videos in 4K at 120p is fantastic with this camera, but not every memory card is good enough.
- V90 Cards are perfect for 4K at 120p
- V60 Cards are good enough for 4K at 60p
I wrote an entire guide for Sony A6700 memory cards, what matters and how to get the best for your money.
12. Choose the Correct Metering Mode
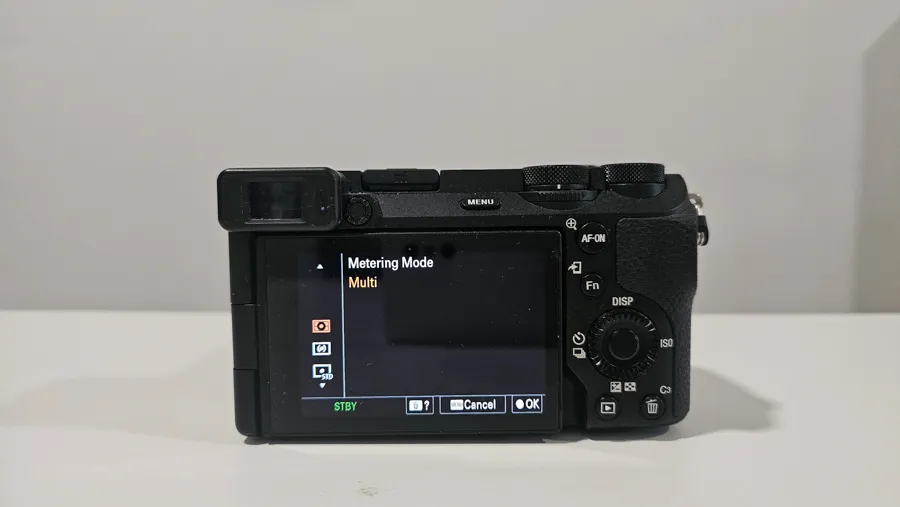
Sony A6700 has 5 different metering modes:
- Multi-Pattern
- Center-Weighted
- Spot
- Highlight-Weighted
- Entire Screen Avg.
You can see my full tutorial on metering modes for Sony cameras, but here’s a quick summary.

Multi-Pattern metering is the most versatile mode. It looks at your entire scene and tries to find the middle ground.
Your camera basically divides the entire scene into different zones and gives a little bit more priority to wherever your focus happens to be when taking a picture.
When it fails, your image may look too dark/bright.
That’s when you need to switch to any of the other modes.

Center-Weighted: Ideal when your subject is in center and you’re shooting against a much brighter background. All of that extra light may confuse your camera which can result in an underexposed subject.
Spot Metering: Your camera will read the light that matches your current AF point. Great if you have a small subject anywhere in the frame (birds, products).
The other 2 modes are something I’ve never used, and don’t recommend you do either.
Metering modes are very important if you shoot in Shutter Priority or Aperture Priority modes because it helps your camera to select the best settings.
If you shoot in Manual, it’s not as important because you can directly control all settings.
13. AF Transition Speed & Subject Shift Sensitivity
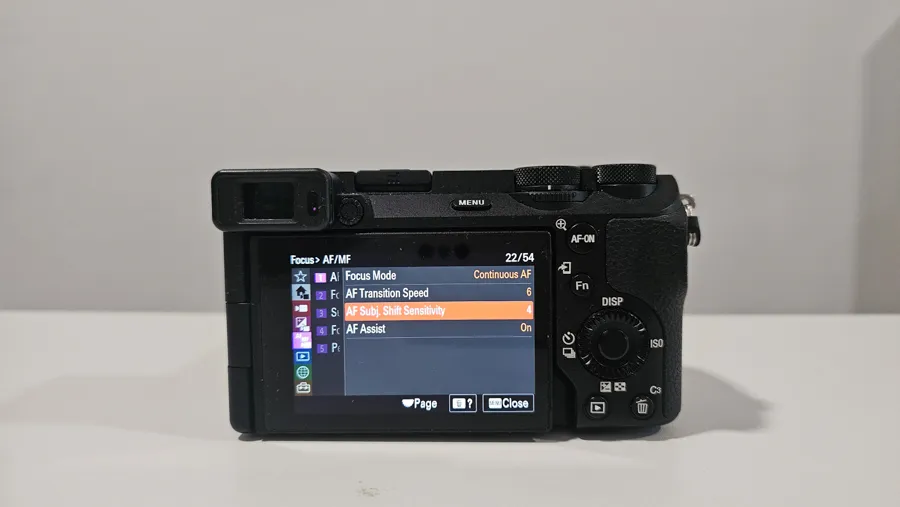
Sony cameras are number one when it comes to auto focusing, but you might still have to tweak the settings from time to time.
Go to Focus>AF/MF and mess with these 2 options:
- AF Transition Speed: Controls how smooth the transition from one subject to another is
- AF Subj. Shift Sensitivity: Controls how sensitive the camera is if a new subject appears/leaves the frame.
For example, AF Subj. Shift Sensitivity should be set to 1 if you want your camera to almost ignore anything other than your main subject. If a car, or an animal runs pass them, it shouldn’t try to focus on that. On the other hand, 5 will make the camera super sensitive to anything new in your scene.
14. Understand the Fundamentals
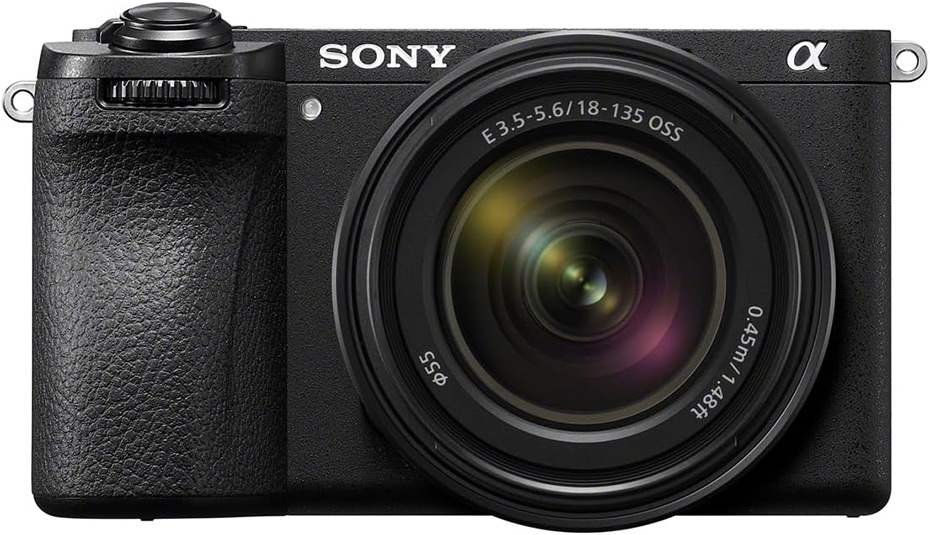
The quickest way to getting higher quality 4K videos is by understanding shutter speed, aperture and ISO.
These 3 settings control the exposure/light.
By having a good understanding of how they all work together, it will allow you to get more creative control over your videos and images
- Shutter Speed: Controls how much light hits the sensor. If you want a cinematic look, make sure it’s double the frame rate (1/50 for 24p, 1/120 for 60p and so on).
- Aperture: Controls how much light goes through the lens. It can make your background blurry, or everything razor sharp. Values are between f/1.2 and f/32.
- ISO: Controls how sensitive to light your sensor is. It can make your videos brighter, but may introduce lots of unwanted noise. Values are between ISO 50 and 102,400,
15. Press “Trash/C3” Button for an Explanation
![]() If you don’t know what a certain setting or function does, press the Trash/C3 button and the camera will tell you.
If you don’t know what a certain setting or function does, press the Trash/C3 button and the camera will tell you.
This works for all menus and settings you will find in the A6700. It’s a hidden feature, but extremely useful for really getting to know your camera.


