What’s the quickest way to take better pictures?
Aperture.
Trust me, it’s the setting you need to know to get amazing images. It’s how professional photographers blur the background in portraits, or how landscape shooters make everything sharp.
I know aperture can be confusing.
That’s why I wrote this guide for complete beginners who just want to know what’s most important.
Let’s go through everything you need to know about aperture; what is it, and how to get better shots by understanding it. You should also read my shutter speed and ISO guides after finishing this one, and you’ll be 90% on your way to becoming a more professional photographer.
What is Aperture?
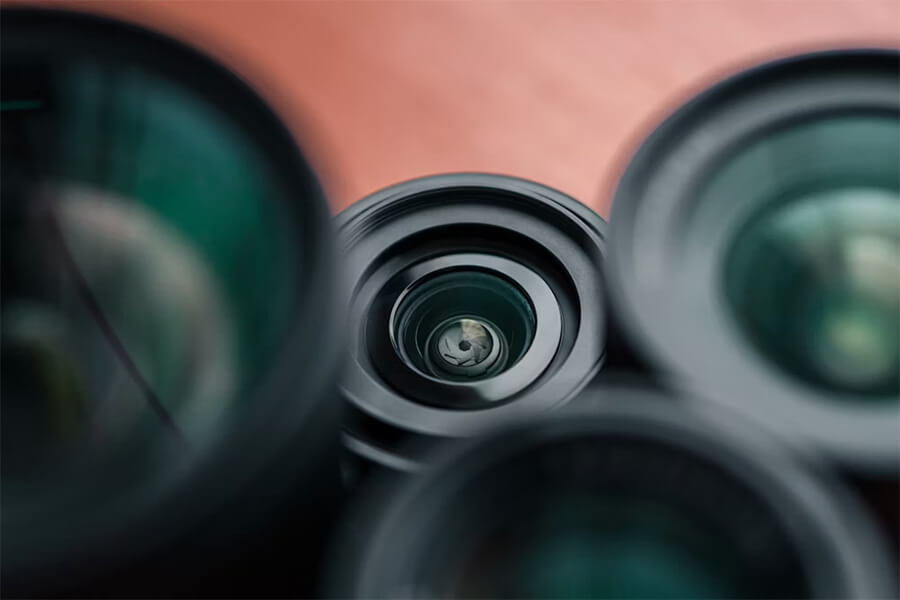
Simply put, the aperture is an opening inside your camera lens.
It controls the amount of light going into your camera. The bigger it is, the more light can reach the sensor.
It’s also responsible for depth of field; how much of your image appears sharp, or in complete focus. It’s how you can achieve a blurred background in your portrait photography, or make everything in your architecture shot look sharp.
Aperture controls 2 things:
- Brightness: How bright or dark is your image
- Depth of Field: Which part of the image is in focus/blurred
That’s it!
It’s the same for every mirrorless camera, DSLR, drone, smartphone, you name it. Anything with a sensor needs a lens, and every lens has an aperture, even if it’s so small you can’t see it.
Whenever you take a picture in auto mode, your camera decides how big the aperture should be.
Is that bad? Not always, but if you want more control over your images and what’s in focus, you have to shoot in (semi) manual modes. Your camera doesn’t know if you want to have everything in focus, or if you want to blur the background. It only adjusts the aperture size enough to make your images look properly exposed, and not too bright/dark.
You can think of aperture like the pupil in your eye. It’s small when it is really bright outside, and only gets bigger as you enter a dark room.
How is Aperture Measured?
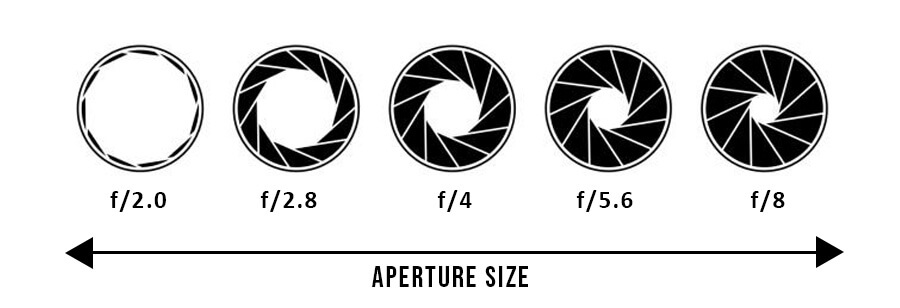
From biggest to smallest, this is how aperture is written.
- f/2.0
- f/2.8
- f/4
- f/5.6
- f/8
- f/11
- f/16
Okay, what in the world are these numbers?
The bigger the number, the smaller the aperture.
The smaller the number, the bigger the aperture.
Aperture f/16 is the smallest, whereas f/2.0 is the largest. Weird right? It would make more sense if the higher number was bigger, but it’s simply not like that.
Instead of saying aperture, some people prefer the term f-stop. If you ever see this in another tutorial, it’s basically the same thing.
Why is aperture written like this? Because lenses come in various shapes and sizes, and it wouldn’t make sense to use inches/centimeters. The “f/–” value is actually related to the physical size of the lens. Imagine how small aperture is on smartphones, and now compare that to a big DSLR camera lens. Both devices can have an aperture of f/2.8, but the size difference will be big. It all depends on the focal length and diameter of the lens.
Here’s a useful tip to remember:
Every next value is exactly twice as small as the previous one. f/16 is twice as small as f/8, and f/8 is twice as small as f/5.6. This means that f/16 lets in half the light that f/8 does, and four times less light than f/5.6
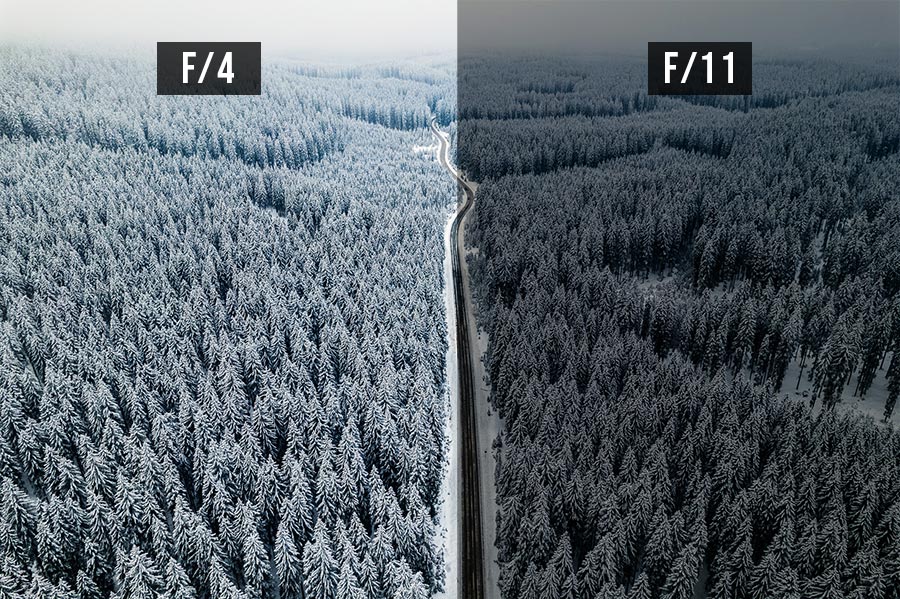
I know this might be confusing, but remembering these values will really help you. There are also higher and lower aperture sizes, as well as more in between, but the ones you just read about are called full stops (because they’re double the previous one and follow a “logical pattern”).
So far you have learned:
- Aperture is a hole inside the lens
- The bigger it is, the more light can pass through
- The bigger it is, the smaller the number
- It’s written like f/16, f/5.6, f/1.8, f/3.5, etc.
- Full stops are double or half the size of previous full aperture stop (the ones in the list)
Now let’s go to the fun part; how to get better pictures.
When to Use a Big Aperture?

You should use a big aperture when:
- You want to blur the background (portraits, weddings, animals, flowers)
- You don’t have much light (indoors, night time, events)
Notice how blurred the background is in the image above?
What’s a big aperture?
Anything bigger than f/8, but the real fun is between f/2.8 and f/1.2. It’s perfect for weddings, flowers and portraits, because your subject will really stand out.
It’s the quickest way to make your shots look more professional.
So where’s the catch?
You probably don’t have a big aperture.
Yup, your lens probably doesn’t allow you to shoot with a big aperture. It might stop at f/5.6, or f/4, especially if you just bought the camera with a kit lens.
The good news is that there are many affordable lenses (around ~$150) that offer crazy big apertures like f/1.8, but they are not zoom lenses, which means you will be “stuck” with one focal length. It’s not a problem, but many beginners prefer zooms.
Ever seen a description of a lens? It looks like this; Sony 50mm f/1.8. Whenever you see the “f/–” number in the lens’ name it tells you its biggest aperture possible. Pay attention to this when purchasing a new lens because it’s super important.
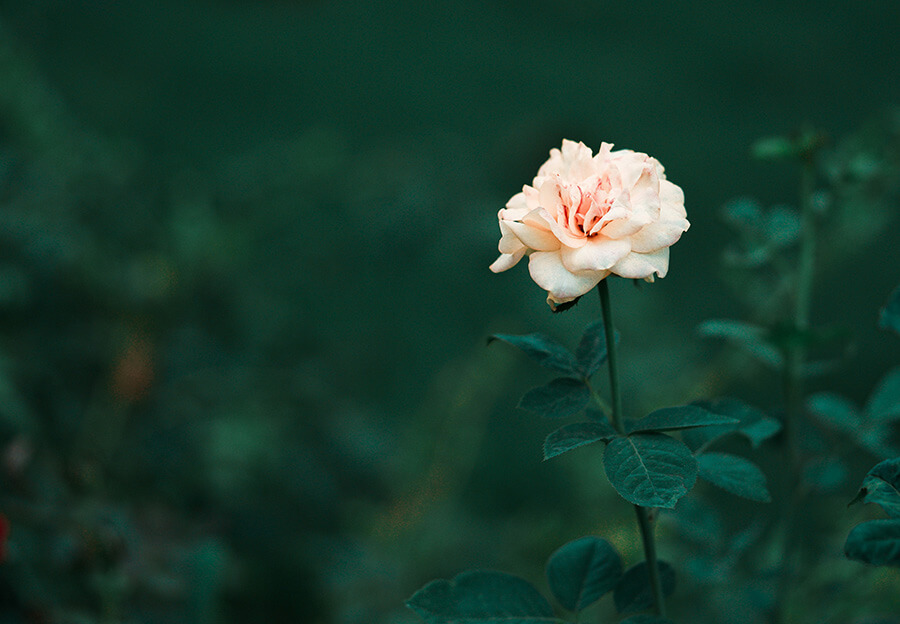
Because we blur everything other than our main subject (the flower), it gives the image more meaning. The sharp part instantly catches your attention and lets you know where to look at.
Big apertures are great for low light!
Your night shots often look blurred, or just bad, am I right?
It’s because there is so little light that your camera is struggling to get a decent exposure. It’s either too dark, or it’s bright but completely unusable because everything appears shaky.
What to do? Simply open the aperture and let in more light.
If you’re photographing a concert with f/4 and your image is dark, increase the aperture size as much as your lens allows you to. If you go to f/2.8, that’s 1 full stop, which means your image will be twice as bright.
This is where photography can get expensive. Why? Because if your lens can’t go bigger than f/4, well, your only option is to invest in lenses that can open up to f/2.8 or even f/1.4. This results in 8x brighter images!
When to Use a Small Aperture?
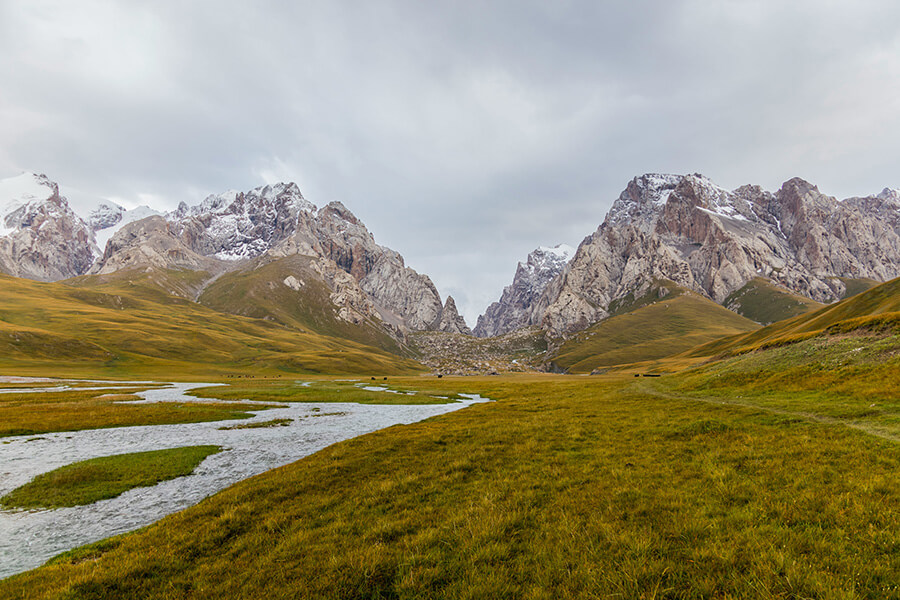
You should use a small aperture when:
- You want everything in focus and sharp (landscape, architecture, cities, group shots)
- You have plenty of light available
Anything smaller than f/5.6 is considered small, with f/8 and f/11 being the most commonly used.
Use small apertures when everything looks beautiful.
This is ideal for landscape and cities, where the entire frame is filled with interesting subjects.
If you don’t want to focus on a specific subject, it’s best to stick with ~f/8 apertures. It creates a big enough depth of field to keep the majority of your shot in focus.
You need a lot of light though.
Unless you’re shooting on a sunny day, it’s not always easy to get a proper exposure with small apertures. Early in the morning, or late during the day, f/11 might force you to use a very slow shutter speed (to let in more light).
This can result in a shaky image, so you’ll either need to raise your ISO (preferred method) or use a tripod.
Remember, if you want everything sharp, you need a small aperture. However, a small aperture lets in very little light, which is why you have to use other settings/gear to make up for that difference.
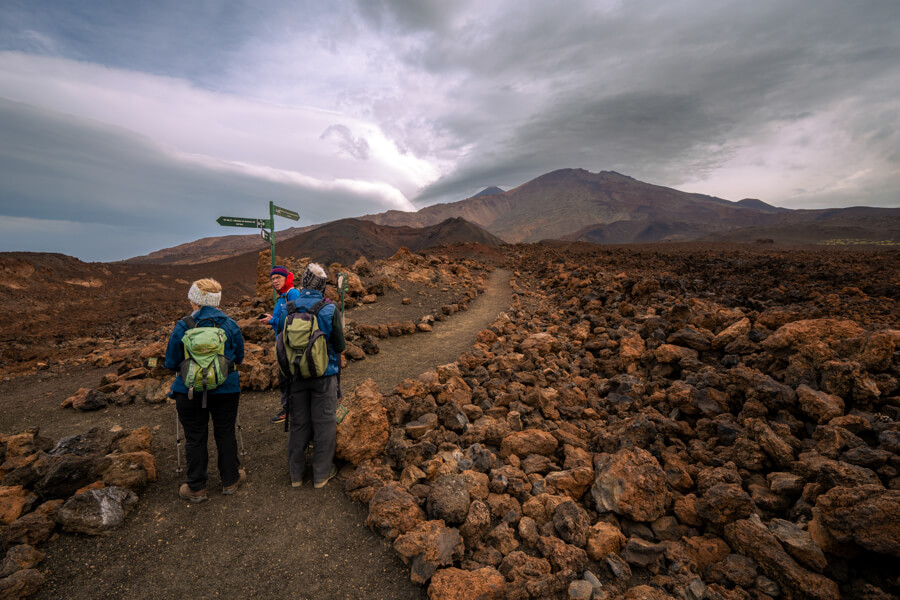
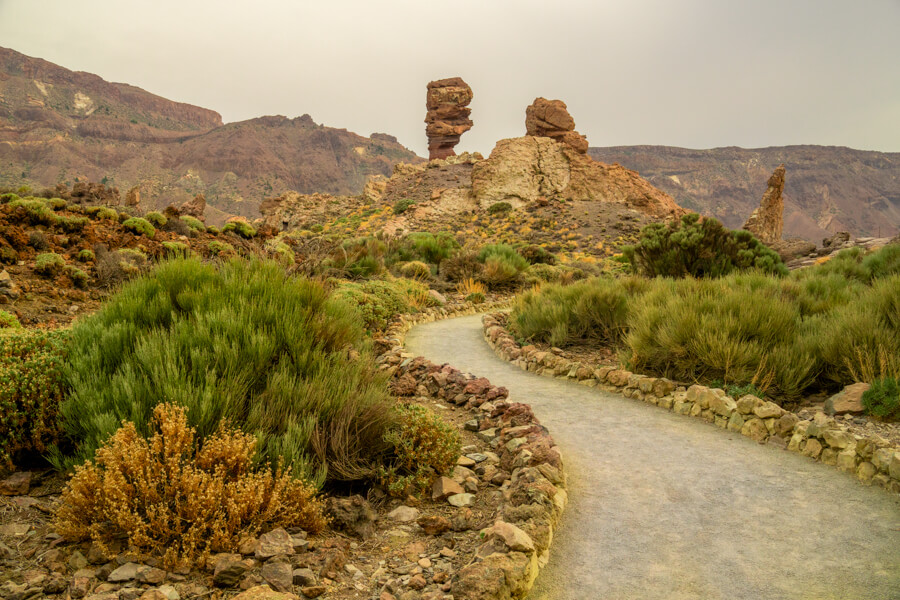
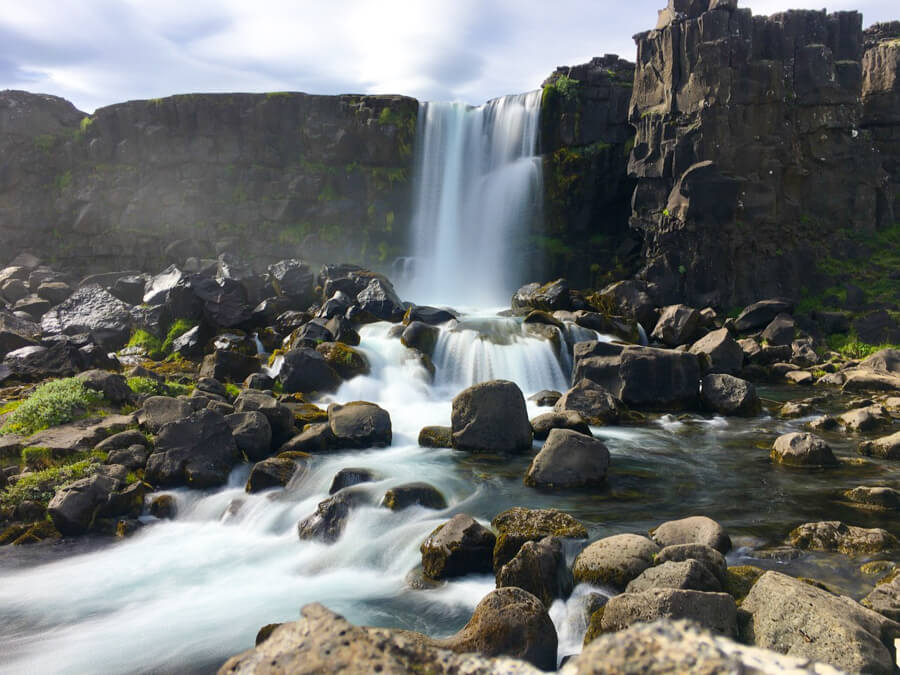
The image above was taken at f/8, because I wanted everything in focus (rocks in front as well as mountains in the back).
It was quite dark and cloudy, so if I selected an even smaller aperture (f/11 would be 2x smaller), my shutter speed would need to be 2x slower and this could result in a blurry shot. The slower your shutter speed, the more chances you have of getting a shaky image.
How to Choose the Best Aperture?
These aren’t rules, so treat them more like suggestions and starting points.
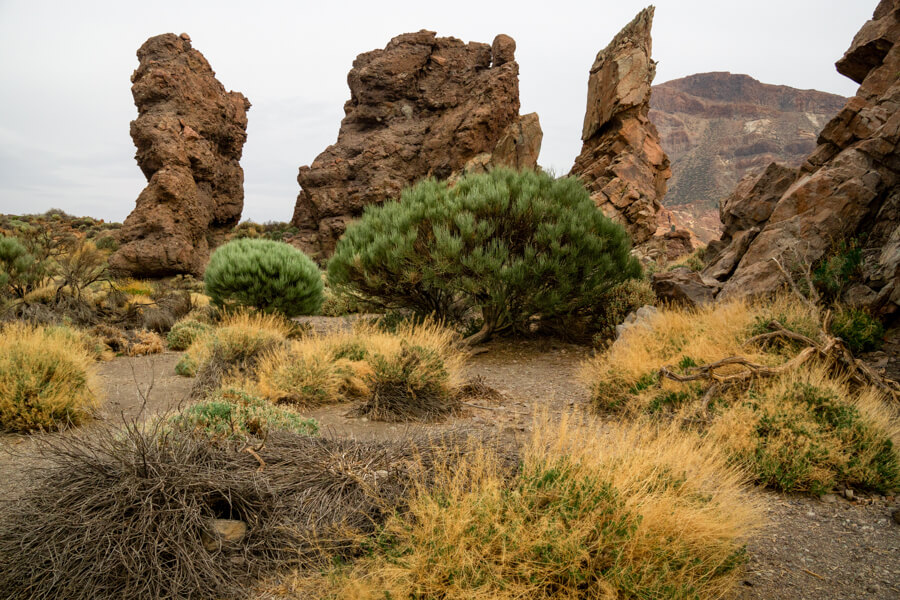
1. Landscape Photography: You want to have as much as possible in focus, including your foreground and background. To get the best image quality and biggest depth of field, shoot between f/5.6 and f/16.
2. Portrait Photography: Portraits are all about making your subject stand out. You often want to make the background look blurred and dreamy, while making sure the entire face of your subject is sharp enough. Make sure to focus on their eyes, otherwise any misfocus will ruin the image. Shoot between f/1.2 and f/2.8.
3. Sports Photography: For sports and action, you need a fast shutter speed of at least 1/500. In order to get a proper exposure, you will need to shoot with big apertures so f/5.6 to f/2.8 is recommended.
4. Wildlife Photography: Animals are most active early and late in the day, which means you won’t have plenty of light to work with. You also need fast shutter speeds, so make sure to shoot at f/2.0 to f/5.6.
6. Travel Photography: This is a broad term, so there aren’t many “rules” here. If you’re going to photograph cities, landscape and people, stick to f/4 and f/8.
7. Low Light: This is where many people prefer prime lenses due to their much bigger apertures. This includes concerts, weddings, indoor events and night time photography. For low light, shoot between f/1.2 and f/2.8.
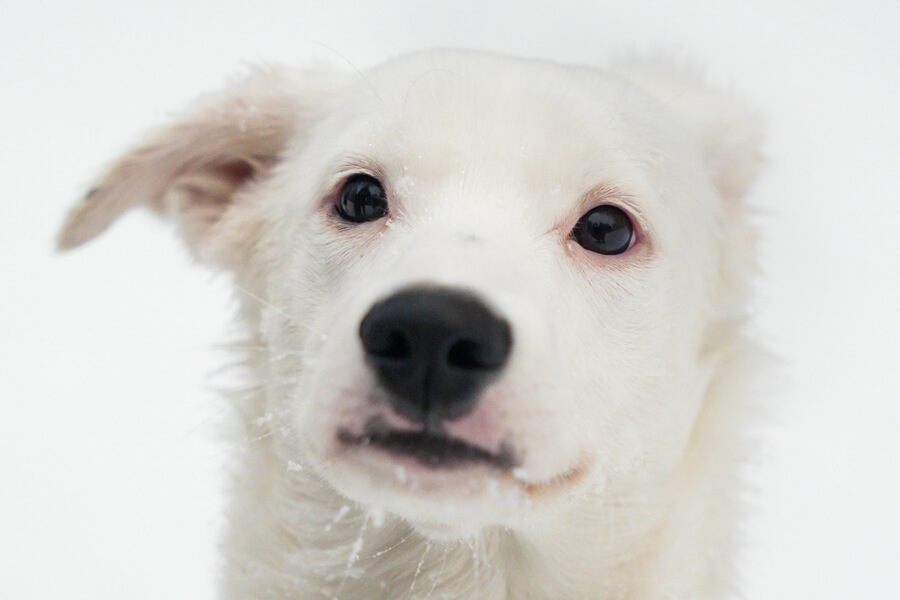
Look at how sharp his eyes are, but the nose is already blurred.
When shooting with big apertures, you need to be careful to really achieve proper auto focus on your desired point. If my lens would accidentally focus on the dog’s nose, his eyes would look blurred and the image would be unusable.
This is why you don’t always want to shoot with the widest aperture possible, because at f/1.2 or f/1.4, your subject might not be completely in focus. Your margin of error is very small.
Where to Change Aperture?
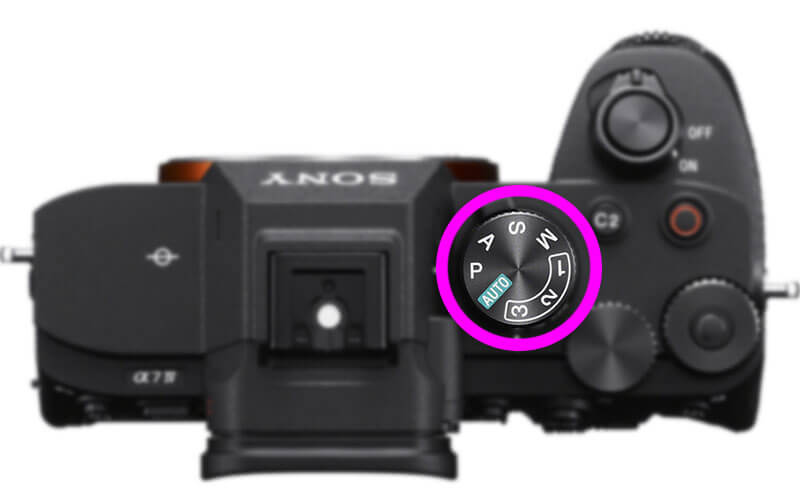
All mirrorless cameras and DSLRs allow you to change its size, as well as every Android smartphone (if you have an iPhone, you’ll most likely need to download an app).
- Manual Mode: Switch to “M” on your camera, rotate the dial that’s set to control aperture. Read the instructions if you don’t know which one is assigned to it.
- A/Av Mode: All cameras have different names for this, but changing to this mode will let you only control the aperture.
- Lens: Some lenses actually have a ring specifically for changing the aperture
What’s the difference between the first 2 modes?
In (M) manual mode you have to control all 3 settings I mentioned above; shutter speed, aperture and ISO. It might be too much if you’re a complete beginner, which is why a lot of people start (and stay) with A/Av mode. There, you only have to worry about aperture, while your camera takes care of the other 2.
Here’s how these modes look on different cameras.
Sony & Nikon: A (Aperture)
Canon: Av (Aperture Value)
Fujifilm: Specific dial for aperture or on the lens itself
Don’t Forget About Shutter Speed & ISO
Aperture is 1 of the 3 most important settings in photography.
Here are the other 2:
They’re responsible for making your images brighter or darker, and can be used to create interesting effects (blurring water, freezing a flying bird, astrophotography).
Instead of buying new lenses with bigger apertures to let in more light, you need to learn ISO and shutter speed first. Only when you understand them should you actually invest in more expensive lenses (a good f/2.8 zoom costs between $500 and $2,000).
All of my guides are written in a similar way, so if you found this one helpful, I’m sure you can learn a lot from the other two.
Which Aperture for Sharpest Images?
There’s another thing you should know about aperture that we didn’t discuss yet.
Your aperture size will affect the overall image quality and sharpness.
Many lenses are optically worse when used at their biggest or smallest sizes, and are usually best when used somewhere in the middle.
For example, if you’ve got a Canon 24-70mm f/2.8, it will show more “problems” at f/2.8 than it would at f/8, a much smaller aperture. These problems include vignetting (dark corners), chromatic aberration (purple lines) and worse sharpness in center and corners.
It’s what differentiates cheap lenses from more expensive lenses. A lot of brands will only put their best glass in those that cost well over ~$1,500, but luckily for us there are plenty exceptions to this.
Shoot at f/5.6 or f/8 if you want the optimum image quality (with most lenses).
Should you follow this 100%?
No, I don’t, and neither do most people. You should only keep this in mind when you are doing studio or product photography that you know might be printed really large.
Lens problems are much more visible when you print big or zoom 100% into the image. Shoot with settings that allow you to get the creative look you want, plus, many problems (including vignetting and chromatic aberration) can be fixed in post-process in less than a second.
Aperture Summary
In this tutorial, you have learned the following:
- Aperture is an opening inside your camera lens
- It controls how much light goes to the sensor
- It also controls what’s in focus and what isn’t (called depth of field)
- Big apertures are perfect for portraits, animals, sports, weddings and low light
- Small apertures are used for landscape, real estate and achieving highest image quality
Photography is all about working with light, and your camera offers 3 different controls to manipulate it; shutter speed, aperture and ISO. You don’t have to master them completely, but they will allow you to get the exact results you want.

