In this guide, you are going to learn everything you need to know about shutter speed.
Why is shutter speed important?
- It helps you get sharper images with less blur
- You will learn how to take photos at night (fireworks, astrophotography)
- You will learn how to freeze motion and get professional shots (birds, animals, sports)
- You will finally be able to take beautiful sunrise/sunset pictures
I assume you are a beginner, so this entire guide is written in a way that will instantly allow you to improve your photos.
What is Shutter Speed?
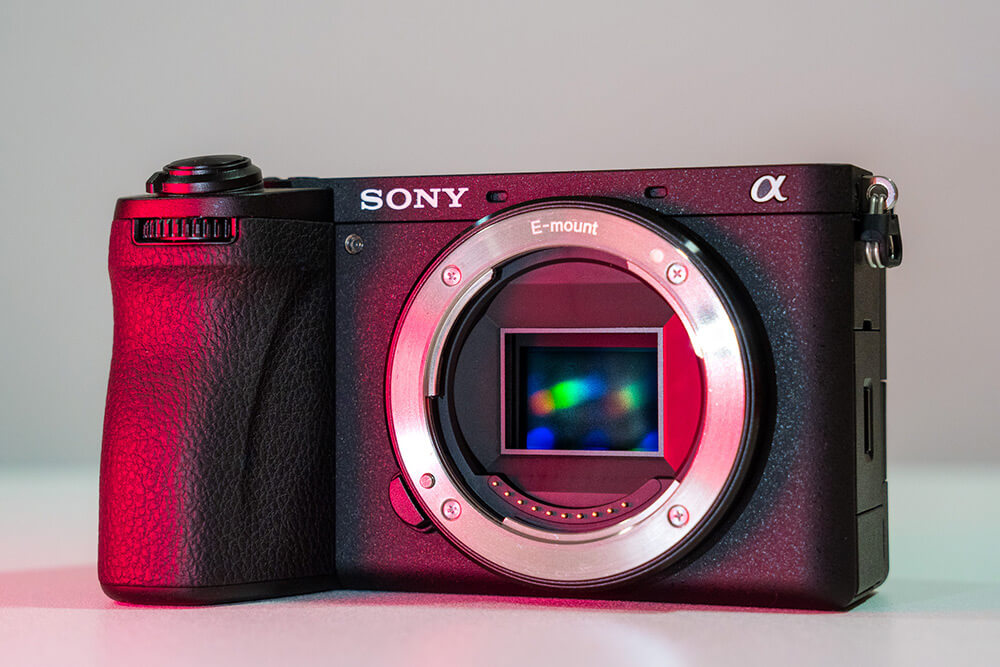
See the colorful rectangle inside the camera above?
That’s a sensor, and it’s responsible for transforming light into a photograph. It’s like film in the old days, except it’s completely digital.
Your camera’s sensor is always covered by a shutter so it can’t see any light; it’s pitch black inside.
However, as soon as you take a picture, the shutter opens and allows the light to hit the sensor. When the shutter closes back, the sensor stops receiving the light and your image gets created. Think of the shutter like a door that opens and closes on command.
Shutter speed is simply telling your camera how quickly to open and close the shutter. It can be just a fraction of a second, or a couple of minutes. If you shoot in manual mode, you get to decide how fast it is.
That’s it!
Shutter Speed Values:
- 1/1000
- 1/500
- 1/250
- 1/125
- 1/60
- 1/30
- 1/15
- 1/8
- …
Shutter speed is measured in fractions of a second, and this is how it’s written on your camera (1/1000 is one thousandth of a second; a millisecond).
The higher the number, the faster it is; 1/1000 is twice as fast as 1/500 and four times as fast as 1/250. Every next value is exactly twice as slow as the previous one. There are higher and lower values than the ones in this guide, and many more in between, but almost every camera and phone will offer these ones.
There is also a Bulb mode (B) that will keep the shutter open for as long as you are holding the shutter button. You can do this with an accessory or directly through your phone if your camera can connect to it. If shutter speed is a few seconds long, it will be marked like this; 2″ (2 seconds), 10″ (10 seconds).
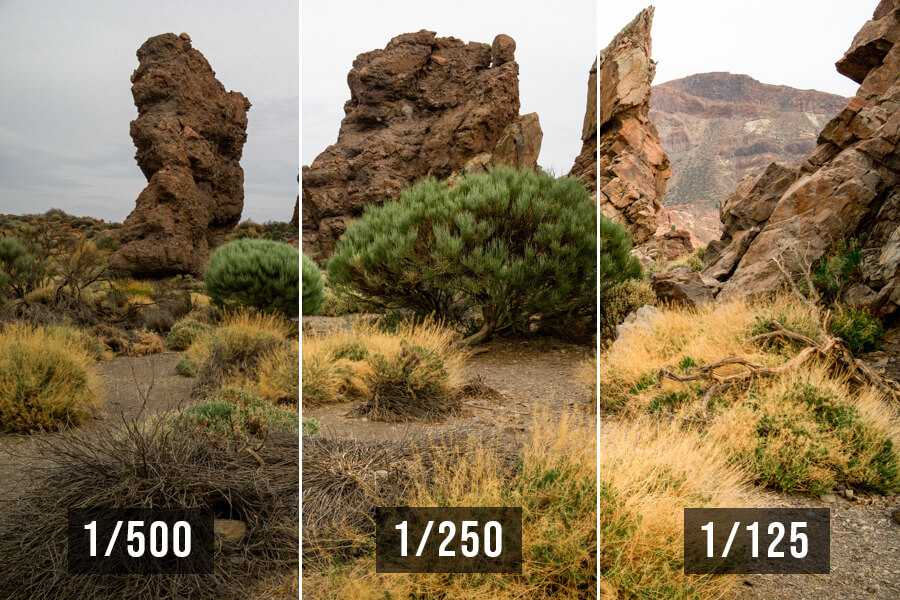
How shutter speed affects your image:
- Brightness: The longer the shutter speed, the brighter the image (as more light hits the sensor).
- Motion: Fast shutter speeds stop motion because the camera only sees it for a short moment.
When To Use a Fast Shutter Speed?
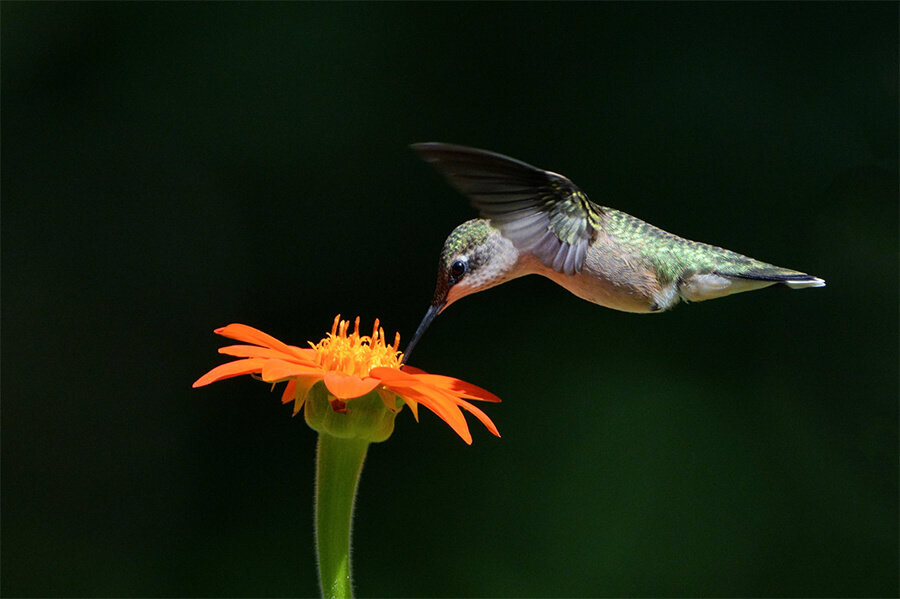
You should use a fast shutter speed when:
- You want to freeze motion (a flying bird, kids running, candid moments)
- You want a sharp photo with no blur
- You have plenty of light (daytime, summer, studio with flash)
Basically, if you don’t want anything blurry on your shot, choose a shutter speed of 1/250, 1/500 and higher.
There is a catch though!
Unfortunately, you can’t just pick the fastest shutter speed and call it a day. Why? Because you need a lot of light for that, otherwise your photograph is going to look underexposed.
That’s the side effect of a fast shutter speed; the shutter opens and closes so quickly that the sensor barely sees the light.
If you are photographing a dog running outside, you can’t make the sun any brighter, so you will have to find the right balance between a “fast enough” shutter speed to freeze its movement, but not so fast that your image ends up completely dark. Luckily you can use the aperture and ISO to brighten your image, but I’ll go more into that later.

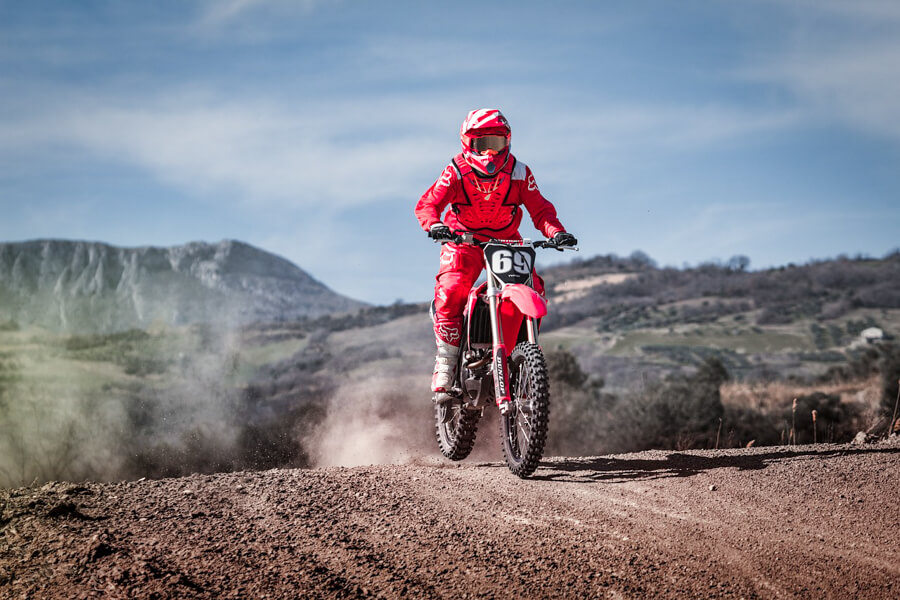
For wildlife and sports, you need a really fast shutter speed. Sometimes even 1/2000 is not enough to stop a bird’s movement, or a dog jumping.
In everyday situations, like kids running, weddings, or street photography, you can be in the 1/125 to 1/500 range.
Now let’s go to the more “artistic” side of photography.
When To Use a Slow Shutter Speed?
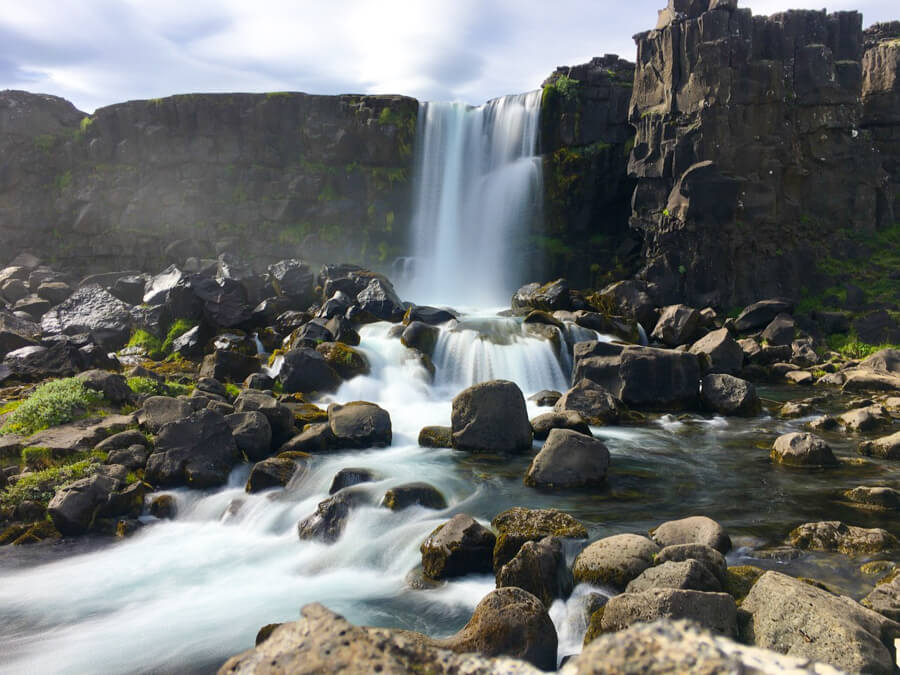
You should use a slow shutter speed when:
- You want to show motion (water flowing, car driving, astrophotography)
- You are shooting in low light and want a bright image
Anything under 1/125 is considered slow, and many scenarios require a shutter speed of seconds or even minutes! With the latter, you will need a tripod because there is no way you can hold the camera completely steady for so long.
Use slow shutter speeds to express emotion, movement, abstractness.
The majority of photographs we see everyday are taken with fast shutter speeds. If you want your images to stand out, find ways to use slow speeds to make them more magical.
What about non-abstract, everyday things?

Most often, you’ll simply use a slow shutter speed because there isn’t much light available. The forest above isn’t moving so there’s nothing special I could achieve with a slow shutter speed.
However, it was so dark that I had to use 1/80, which was slow enough to get a proper exposure (an image that looks bright enough). However…
If you go too slow your images will look blurry!
Why? Because whenever you take a picture you move a little bit, even if you are unaware of it. Slow shutters will greatly emphasize even the tiniest movement, thus resulting in a blurry shot.
That’s why your night photos and indoor shots often look blurry. In order to get a bright image, your camera needs to use a slow shutter speed, but if you aren’t doing your best at being still it will look blurred.
There is a helpful rule to remember:
- Your shutter speed should be higher than your focal length.
If you have a 50mm lens, your shutter speed should be 1/50 and higher. If you have a zoom lens, that depends on what focal length you are shooting with at that moment. With telephoto lenses this is even worse, as you’ll basically need a 1/300 with 300mm lenses, but it’s not always bright enough to do that.
Luckily a lot of cameras and lenses feature Image Stabilization, and it helps tremendously. It allows us to shoot in low light with really slow shutter speeds and no tripods, sometimes even up to a second. The newer the camera, the more advanced it is.
Don’t Forget About Aperture & ISO
Shutter speed is not the only way to control how much light reaches your sensor.
These 3 are the fundamentals of photography, even if you are shooting in automatic modes. Your camera/phone is constantly changing their values and hoping it will match your expectations.
Why do aperture and ISO matter?
Let’s say you’re taking pictures of kids running, but it’s really dark. You know you need 1/500 to freeze their movement, but it results in completely black pictures. How to get make it brighter without slowing the shutter speed?
By opening the aperture and letting in more light, OR raising the ISO and increasing the brightness. They both come with their own side effects (which you should definitely learn), but at least your image will look bright!
If you really want to elevate your photography, I seriously recommend you to read both of my guides. Here’s the link to the Aperture Ultimate Guide, and here’s the ISO Ultimate Guide. With aperture you can blur the background, whereas ISO allows you to shoot in really dark conditions.
How to Choose the Best Shutter Speed?
There is no perfect setting for every situation because it also depends on your aperture and ISO, but here’s a couple of reference values to keep in mind.
Birds & Animals: 1/1000 & Higher
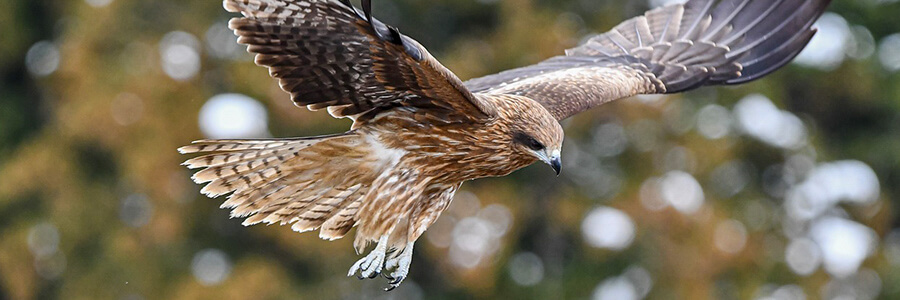
For birds in flight and wildlife, you need to shoot with 1/1000 and higher. Most intermediate cameras stop at 1/4000, while more professional ones can go even beyond 1/8000.
Because animals aren’t always active during the middle of the day, you will have to raise your ISO and aperture size to get such a fast shutter speed.
Sports & Action: 1/500 – 1/1000
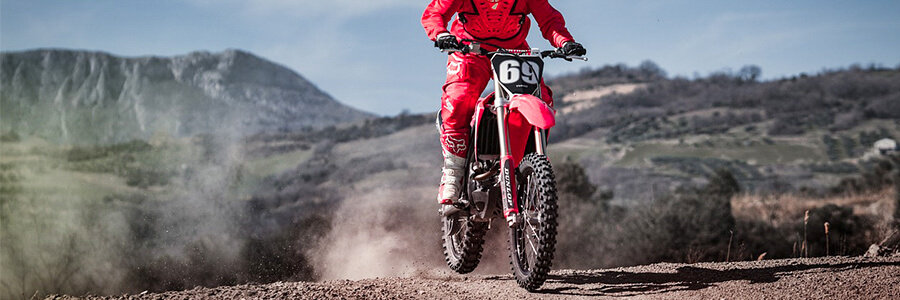
For both outdoor and indoor sports, you should have 1/500 as your minimum shutter speed for freezing motion. If you’re photographing inside, you will have to raise the aperture and ISO by a lot.
Street & Daily: 1/125 – 1/500
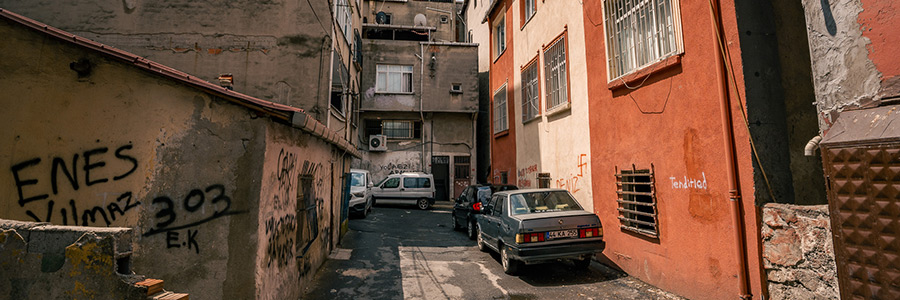
For casual and street photography, stick to shutter speeds between 1/125 and 1/500. This is ideal for getting sharp results with no motion blur, as well as capturing candid moments.
Landscape: 1/60 – 1/250
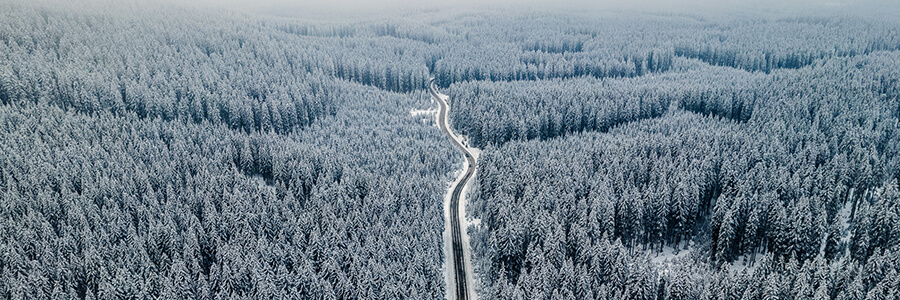
Landscape photography is often done with a small aperture and low ISO value, leaving you with not much light to work with. That’s why many landscape photographers actually carry a tripod to ensure maximum sharpness. Remember the focal length = minimum shutter speed rule the next time you’re shooting outside.
Indoors & Night: 1/15 – 1/125
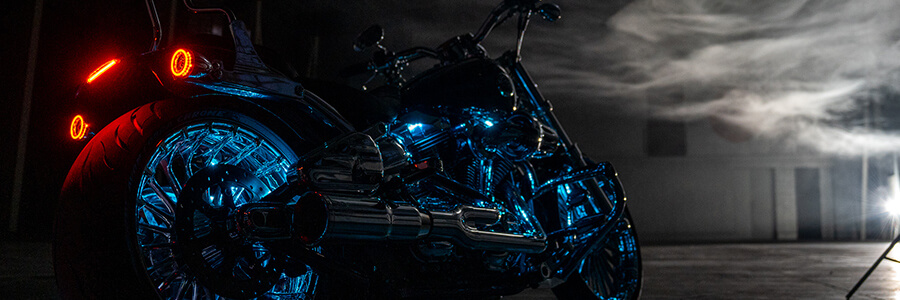
For night and low light photography, your shutter speed has to be very slow in order to let in as much light as possible. Try shooting between 1/15 and 1/125, but watch out for blurry images.
A lot of your photographs may look sharp/not-blurred on the LCD screen, so make sure to zoom in and double check if your shutter speed isn’t too slow. I’ve had plenty of night time images look good until I viewed them on my bigger monitor.
Blurring Water: 1″ – 1/15
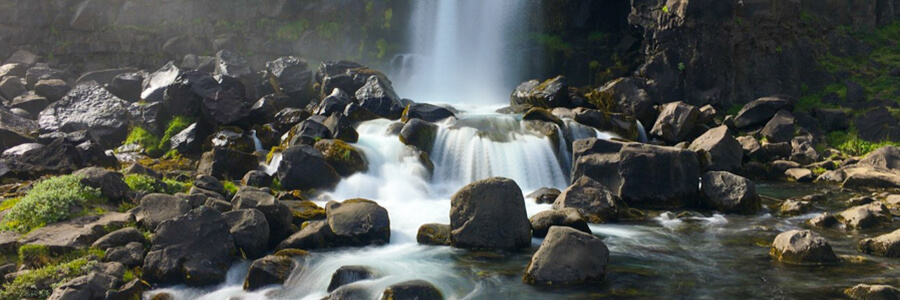
You will need a tripod for blurred water effect, or anything stationary (whatever you find in nature). If you will try this without an ND filter, your photographs will look overexposed because there is so much light during the day; you need a filter to block a lot of it.
Fireworks & Light Trails: 2″-5″

For fireworks and light trails (cars, flashlight) try experimenting with anything from 1 second to 20 seconds.
Astrophotography: 10″ – 10 Minutes
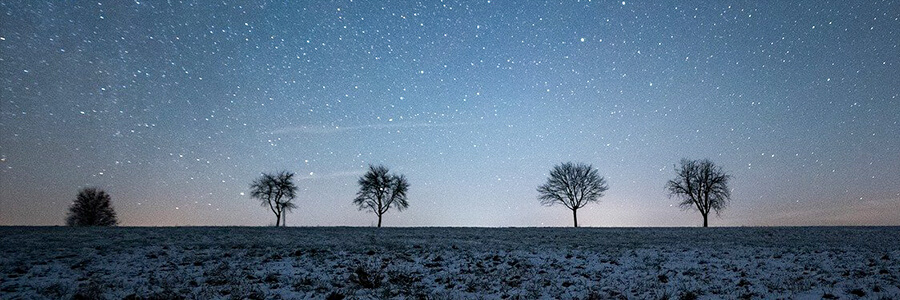
For astrophotography and stars, you’ll need to get far away from big city lights. Pack a tripod and start with a couple of seconds, then increase until the stars look too blurred. The wider your lens, the longer your shutter speed can be.
Which shutter speed for sunset and sunrise?
Anything above 1/1000; the faster it is, the richer the colors will appear. In automatic modes (phones as well), your camera doesn’t take good sunset pictures, so remember to switch to manual modes for such events.
Oh, these aren’t rules. Feel free to use a slow or a fast shutter speed wherever you feel like, as long as it looks like what you want.
How To Change Shutter Speed?
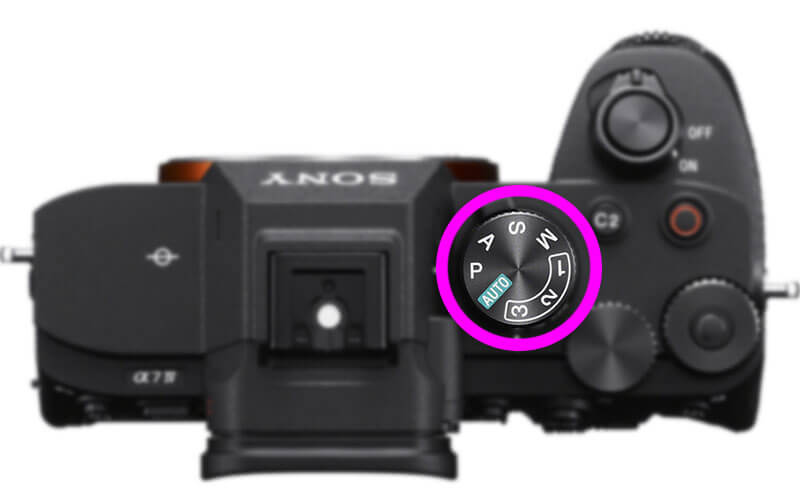
All mirrorless cameras and DSLRs allow you to change it, as well as every Android phone (if you have an iPhone, you’ll most likely need to download an app).
- Manual Mode: Switch to “M” on your camera, rotate the dial that’s set to control shutter speed. Read the instructions if you don’t know which one is assigned.
- Shutter/Tv Mode: All cameras have different names for this, but changing to this mode will let you only control the shutter speed.
What’s the difference between these two modes?
In manual mode you have to control all 3 settings I mentioned above; shutter speed, aperture and ISO. It might be too much if you’re a complete beginner, which is why a lot of people start (and stay) with Shutter/Tv mode. There, you only have to worry about shutter speed, while your camera takes care of the other 2.
Here’s how these modes look on different cameras.
Sony & Nikon: S (Shutter)
Canon: Tv (Time Value)
Fujifilm: Specific dial for shutter speed
You can use the rear or top LCD, or the viewfinder, to see all your settings.
Shutter Speed Summary
In this tutorial, you have learned the following:
- Shutter speed is measured in fractions of a second
- It controls for how long the sensor sees light (opens and closes with the shutter button)
- Fast shutter speeds are great for freezing movement, but require plenty of light
- Slow shutter speeds are best for low light, astrophotography and artistic images
- If your shutter speed is too slow your photographs might look blurred
Photography is all about working with light, and your camera offers 3 different controls to manipulate it; shutter speed, aperture and ISO. You don’t have to master them completely, but they will allow you to get the exact results you want.

